
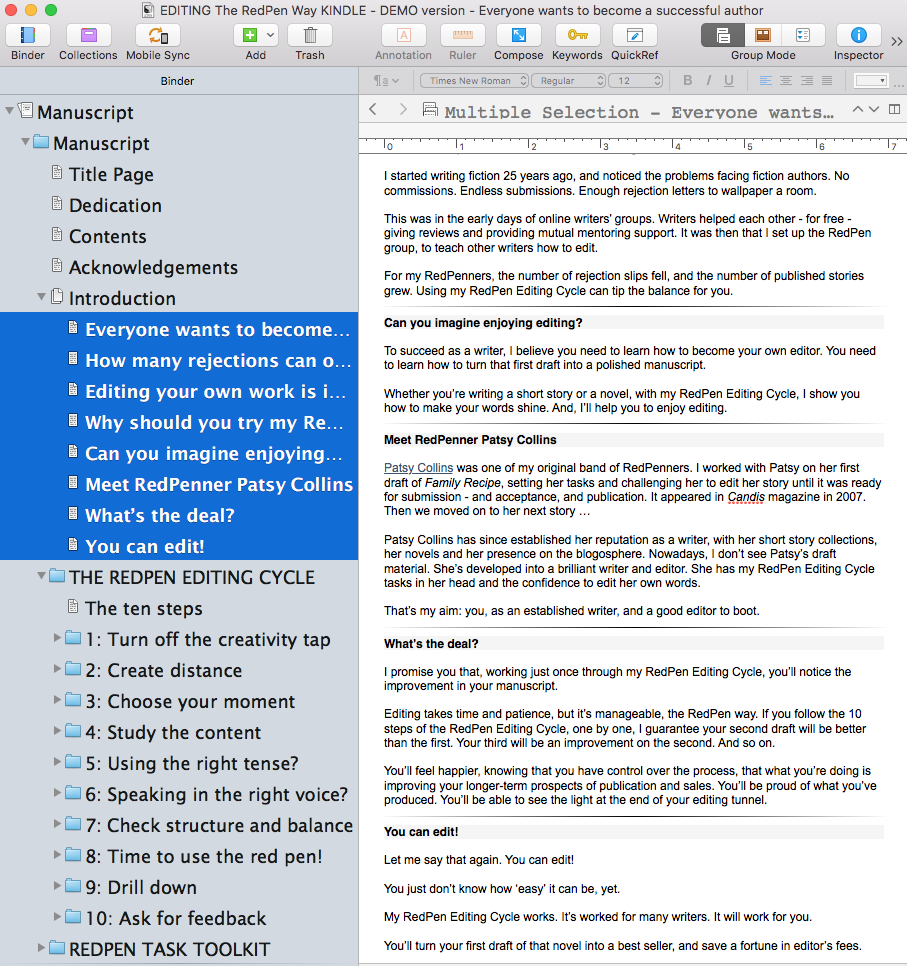
Structuring in Scrivener: Document titles as section headings
During compilation, document titles can become section headings.
Format / Options / Show Titles in Scrivenings
Recall that you can reveal your document titles using Format / Options / Show Titles in Scrivenings.
I have highlighted a group of documents – all at the same level – to illustrate how these document titles will become section headings, and how you can format them in one go.
Formatting headings, level by level
Within the Formatting tab of the Compile window, each section type controls one level of folder/document.
Level 1+ includes all the folders. Notice that these appear to be at different levels … and this is why I suggested way back that you don’t put text in a folder. Use them for structure, rather than content.
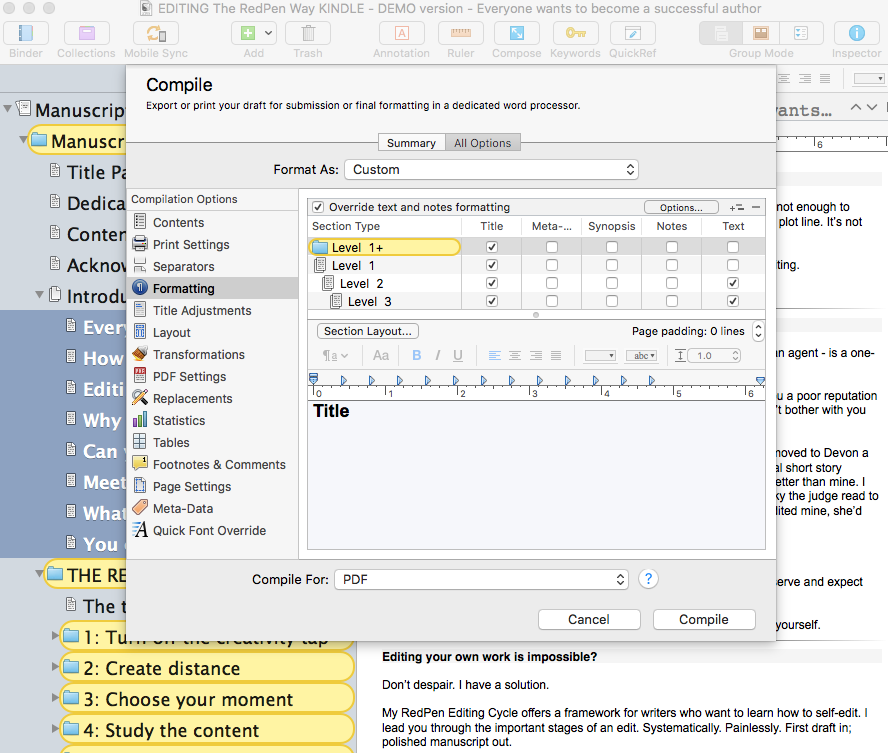
Level 1 picked up nothing (I have nothing at level 1 with that binder icon in my structure) but at Level 2, just my Introduction document is highlighted. Notice the matching binder icons.
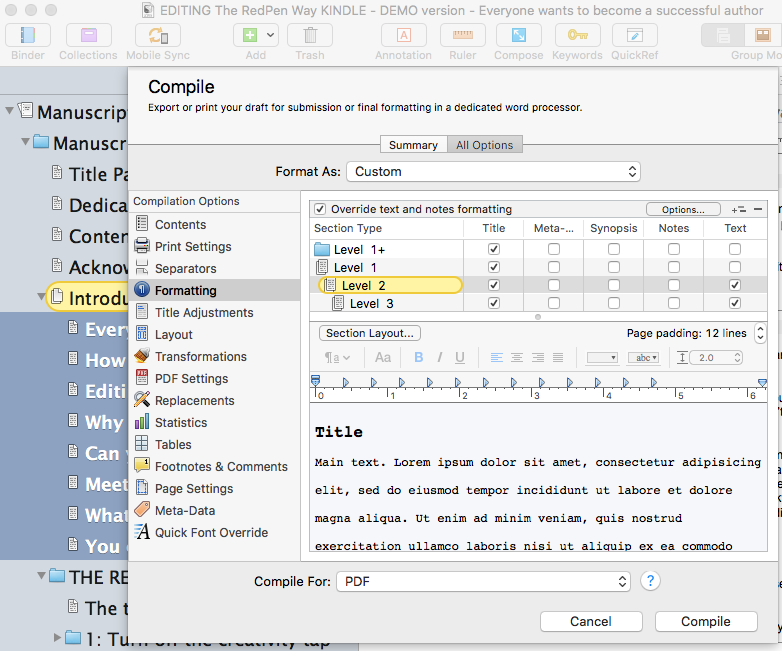
Continuing down through the levels, it’s at Level 3 that my selected documents are highlighted.
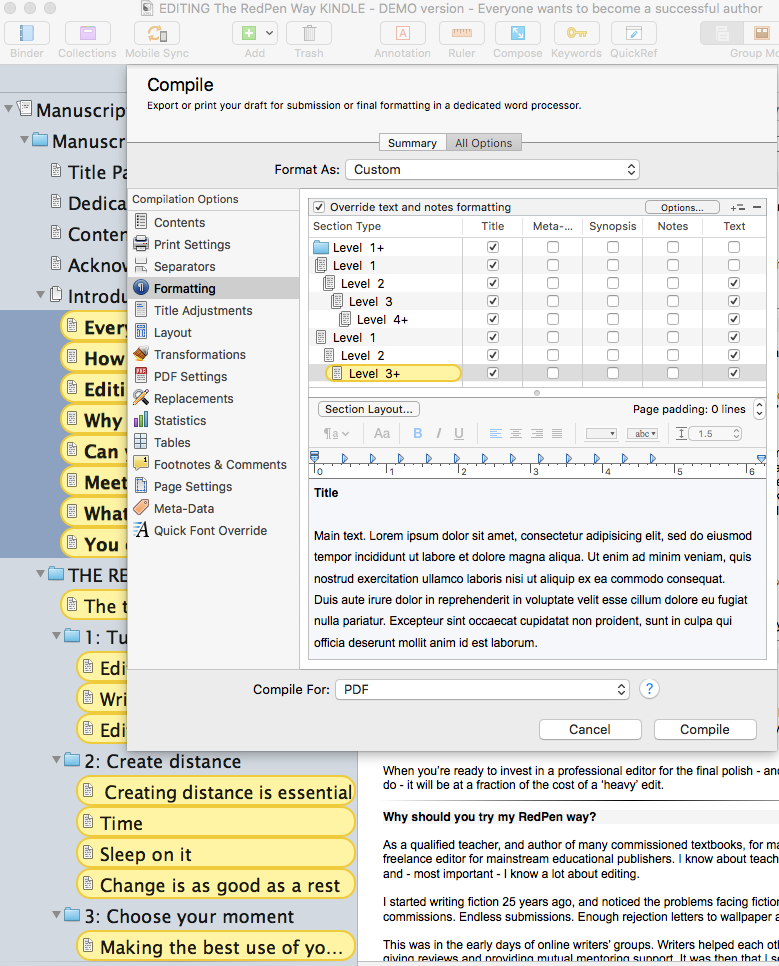
Notice that there are many other documents at the same level. Whatever decisions I make about the formatting of the sections within my Introduction, the same setting will apply to these other documents too.
Accepting the current or default style for your headings
As a starting point, you might just accept the current settings for a level, and see what it looks like. If you are happy, leave well alone. If not, you can make changes.
What do the current/default settings look like?
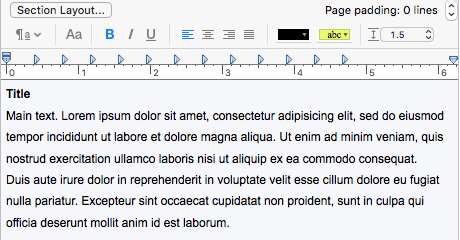
 The lower part of the formatting tab shows how the text will compile: the Title and the Main text.
The Title is currently showing as left-justified
For the Main text, dummy text illustrates whether you have unjustified text (ragged right) – as we have here – or any other setting.
The dummy text – which reads Lorem ipsum dolor … – is just a filler. It looks like Latin, but is just nonsense. However, if you are keen to explore this further, checkout Wikipedia’s definition here.
Once you click compile, you can check how the text looks on the page.
For me, there is too much space after the Title, compared with the vertical spacing above it.
This is easily fixed! 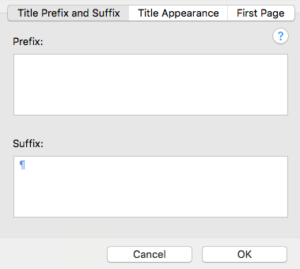 Check what settings you have for the Section Layout …
I found I had a line space in the Suffix setting. I’d clearly been ‘playing’ with this layout in a Simply Scrivener Special webinar demonstration. I deleted that ‘return’ character and reviewed the dummy text illustration.
Compiling again, I’m now happy with the spacing above and below the Title.
Notice that, by changing the vertical spacing, where the text lands on the page has changed automatically.
![]()
You can tweak the formatting for each level until you are happy with how the compiled version looks.
One caution. Before you start changing settings, set up a custom setting. Only update this custom setting when you have achieved progress, one step at a time, within one level at a time.
Good luck!
Remember, if you’d like to see a demonstration of any of the features discussed in this blog post, book a Simply Scrivener Special.
The ScrivenerVirgin blog is a journey of discovery:
a step-by-step exploration of how Scrivener can change how a writer writes.
To subscribe to this blog, click here.
Also … check out the Scrivener Tips
on my ScrivenerVirgin Facebook page.
Mike McQuay
1 November 2022 at 06:18Thanks. This has been helpful. I find that if I’m not Scrivenering regularly I have to re-learn it each time. I need to get more involved.
Anne Rainbow
1 November 2022 at 10:34I’m glad it’s proving helpful to you. I started the blog in 2015 because Scrivener has so many features and I found my memory was not reliable enough to recall how to do things. I therefore recorded my progress, and my understanding of how best to use Scrivener, as a series of blogs. Whenever I want to do something I haven’t done for ages, I search my own blog!