

First fix editing: Global tasks – The big picture

Global tasks affect the whole manuscript
Hence the term.
The issue is not confined to one sentence or one paragraph or one scene or one chapter. I have to address all of the manuscripts, from start to finish.
Categories of global task
Global tasks also fall into two further categories:
- Big Picture
- Devil in the Detail
Global ‘Big Picture’ tasks
These are tasks that affect the whole manuscript and have to be addressed, preferably, in one hit. For example:
- Checking the scenes of a single character for consistency and continuity eg their appearance, dialogue, character arc
- Checking the scenes of a single location for continuity eg changes affected by the seasons
Global ‘Devil in the Detail’ tasks
These are tasks that affect the whole manuscript but lend themselves to being addressed piecemeal. For example:
- Overuse of a particular word eg very, always
- Lack of variety in a sentence starts eg overuse of ‘It was …’ or ‘There were …’
- Brilliance, or otherwise, of opening lines in a chapter
- Checking cliffhangers and transitions at the end of each chapter
I discuss how I tackle ‘Devil in the Detail’ global in the next blog post. Here, I focus on the use of collections and split screens for global ‘Big Picture’ tasks.
Collections
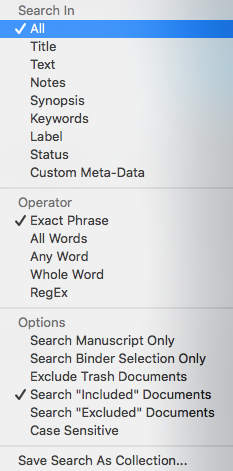
A collection is a way of viewing a subset of the Binder documents; this ‘view’ can be created using a Project search. (Save Search As Collection… is the last item on the menu.)
Indeed, having done a Project search, it makes sense to save the found documents as a collection. You can then set aside time to work on this collection, without reference to the rest of the scenes in your manuscript.
When you select Save Search As Collection, Scrivener offers you the search key as the name for the collection and it makes sense to accept this suggestion.
You can create many collections for a single project. Scrivener assigns a different colour to each, so you can easily identify which particular subset of documents you are working on: the whole manuscript (ie the Binder) or one of the subsets (ie a collection).
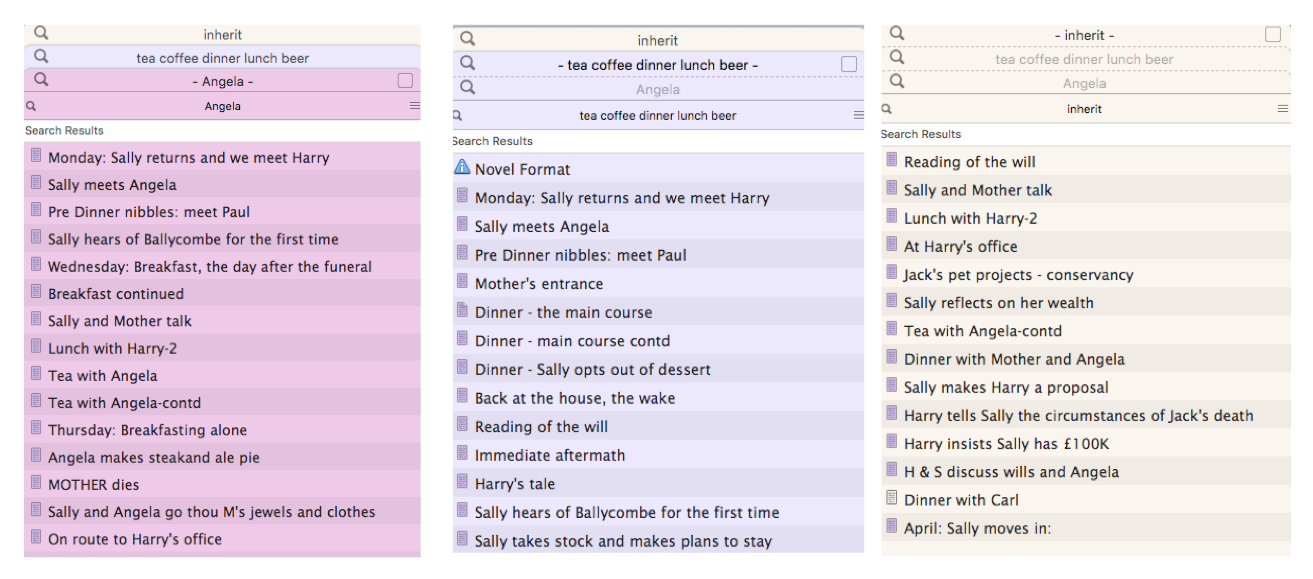
I use collections mostly to check for continuity.
- The pink collection has all the scenes in which Angela appears or gets a mention.
- The purple collection is for scenes involving meals or refreshments
- The cream collection includes all the scenes in which the inheritance is discussed
Where are the collections?
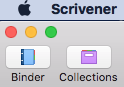
In Scrivener 2, there are two separate icons on the far left of the toolbar. Each toggles between Show and Hide.
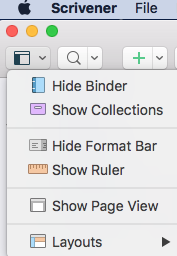
In Scrivener 3, these two separate icons are combined into one drop-down option. You can still Show/Hide as you wish, but there are other features incorporates into this dropdown.
For more details on Searching to create Collections, check this post and for how the Search/Collections changes between Scrivener 2 and Scrivener 3, this post.
For a demonstration, book a Simply Scrivener Special.
Using collections with split screens
Having set up a collection, I work my way through the various scenes within that collection, and – at the same time – need to have sight of additional information. So, I use split screens.
If you’ve never used split screens before, read this post for how to split/un-split/re-split differently.
- For the pink Angela collection, I have the scene text on the left of the Editing pane, and Angela’s character sketch on the right.
- The purple collection, I have the scene text on the left of the Editing pane, and my timeline which includes the schedule of meals and refreshment opportunities on the right.
- For the cream collection, I have the scene text on the left of the Editing pane, and a copy of the will on the right.
There are lots of other combinations, with text on one side and maybe the corkboard or outliner on the other.
And, if you need to reference even more material, there’s the option to open a Quick Reference pane. And, in Scrivener 3, for even more material to hand, use the new copyholders.
When a document in the collection is edited, the same changes are made to the one you might view from the Binder. Magic!
(Not really magic. The Collection is simply an alternative view of the documents.)
Questions about first fix editing? Need a helping hand? Want a demo?
To watch me go through the processes of first-fix editing using the various Scrivener features or to ask any questions, book a Simply Scrivener Special.
To help me to prepare, you could also complete this short questionnaire.
The ScrivenerVirgin blog is a journey of discovery:
a step-by-step exploration of how Scrivener can change how a writer writes.
To subscribe to this blog, click here.
Also … check out the Scrivener Tips
on my ScrivenerVirgin Facebook page.
No Comments