

Scrivener with Style: Setting up a new named style
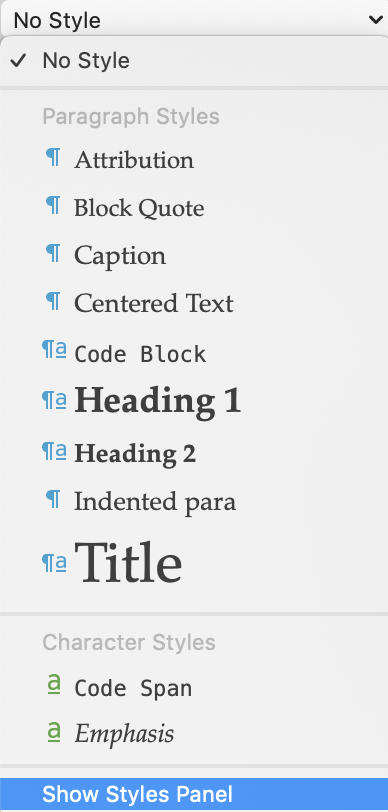
To set up a new named style, click on the down arrow beside ‘No Style‘ to reveal the drop-down menu and then click on Show Styles Panel.
Clicking on the + sign in the bottom left corner of the Show Styles Pane and then completing the information requested will create an ‘Editor style’ (which is different from a Compile Style), and this new Editor style will apply to all your projects.
All your projects?
Yes, the Style pane is common to all your projects. So, if you set up a named style in one, it’s available for them all.
But you want different effects in different projects?
Ah, well, keep the (Editor) styles simple and use the Compile styles to create the differences in output for your various projects. Scrivener maintains two lists of styles: the ones in the Editor and those used in the Compile.
- If the style names match (because you set things up this way), you can have one effect on screen and different effects depending on your output: PDF, ebook etc.
- If the names don’t match (because you set things up this way), then the Editor style is preserved when your manuscript is compiled. WYSIWYG …
It’s a tad complicated, so we’ll have more on Compiling in a future blog post!
For now, let’s assume you are keen to create the WYSIWYG environment you’ve been used to and want to set up named styles for this purpose.
Go ahead. Click on the + sign to bring up this pane.
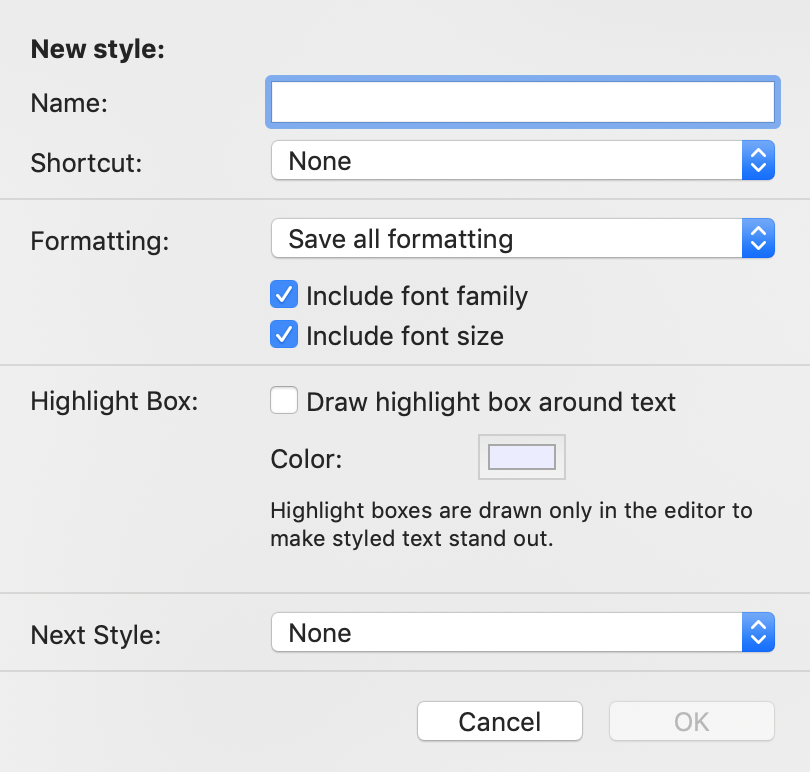
Naming your new named style
Recall from the previous post that the styles are listed in alphabetical order. It’s not important when you only have a few, but, in case your list grows long, think carefully about what to call your named styles.
Although the styles are listed as ‘paragraph’ or ‘character’, for clarity, I’d include the text ‘Para’, if only to group the variants.
- Para fully blocked
- Para indented the first line
I explain why these two particular named styles form my essential ‘style toolkit’ for a novel in next week’s blog post.
You might also want to include your initials in the name of a new style – so you know it’s one you created, rather than the default styles.
Why create a shortcut?
You don’t have to create a shortcut! You can leave the entry as None.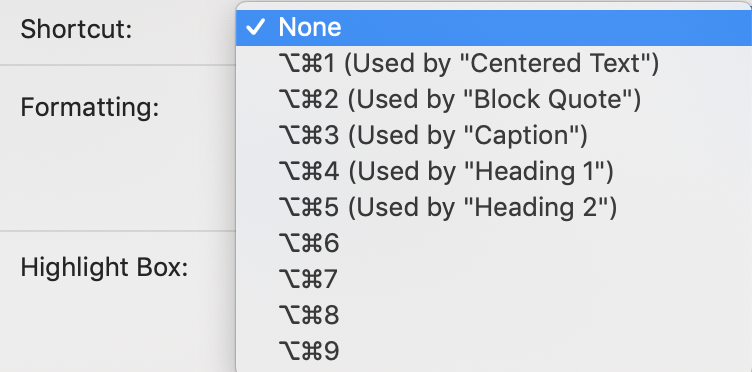
But, if you like using shortcuts, you have the opportunity to set one up for this named style. Click on the blue up/down arrows to reveal what’s available.
Then pick a number. If you want, you can overwrite any of the previously assigned shortcuts but will be warned before you can go ahead.
Formatting – with or without font style and point size?
This is where you confirm the type of style:
- Character
- Paragraph
- Combination of the two

I mentioned before about not incorporating font style and font point size into a style. So, I’d uncheck these boxes.
Highlight box option – how useful is this?
This option is useful if you are planning to use Find by Formatting to search on this style. See my ‘Clue’ named style in the previous post – I needed highlighting to find the relevant text.
You can also choose the colour of the highlighting. Double click on the coloured rectangle and choose.
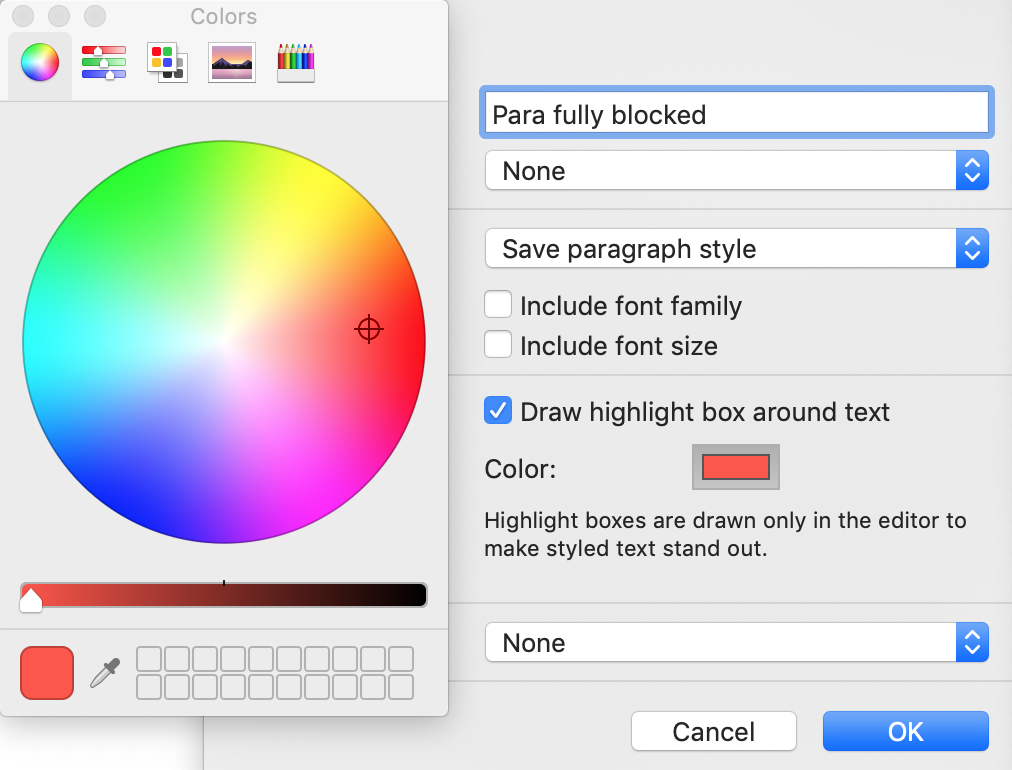
It’s unlikely I’ll want to search on this format, so I then unchecked the ‘Draw highlight’.
What’s the relevance of ‘Next Style’?
It saves time if you set this up for paragraph styles, but you do need to think first about what would normally follow this paragraph, and to have that named style set up already.

If it’s going to be the same style, choose ‘This Style’.
What’s my preferred style for a novel?
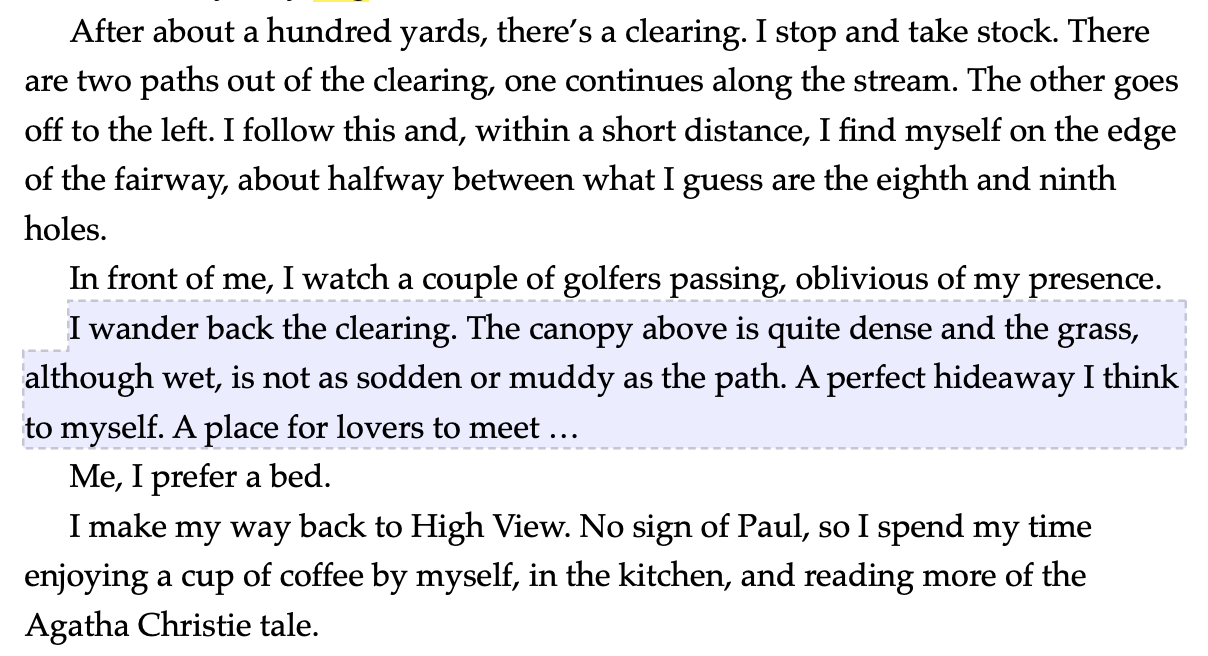
I have fully blocked paragraphs at the start of a chapter, and first-line indented paragraphs after that.
This is ‘standard’ practice in most novels.
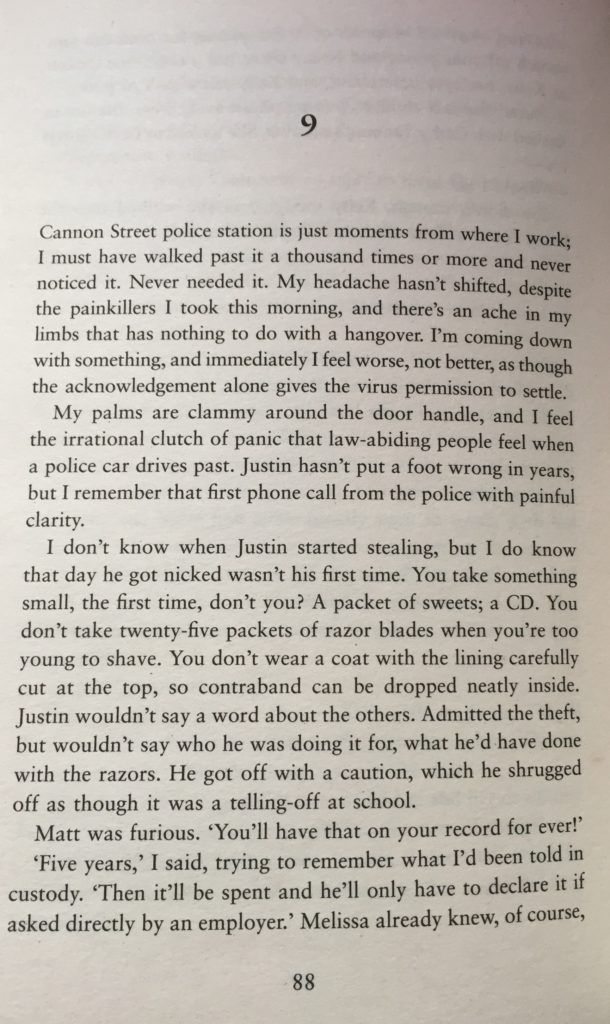
See the opening page of chapter 9 in Clare Mackintosh’s I See You. I use this book for my RedPen Training workshops; it’s so well written and demonstrates practically all the techniques needed to write a good novel. If you’ve not read it yet, do!
Notice also that the text in I See You is fully justified. This is also standard practice.
Questions? Need a helping hand? Want a demo?
To watch me demonstrating how to use styles or to ask any questions, book a Simply Scrivener Special.
To help me to prepare, you could also complete this short questionnaire.
The ScrivenerVirgin blog is a journey of discovery:
a step-by-step exploration of how Scrivener can change how a writer writes.
To subscribe to this blog, click here.
Also … check out the Scrivener Tips
on my ScrivenerVirgin Facebook page.
No Comments