

Providing editing services using Scrivener
Editors are key to the publishing process
Nowadays, many writers use Scrivener to produce their first draft. Many writers also choose to self-publish.
Editors, for decades have used Word, and its Track Changes option, to communicate changes to be made by the author. We move on though and I hope editors will embrace Scrivener as a tool which enables them to serve this emerging self-publishing market.
In the previous post, I listed what issues a developmental editor might address. In this post, I’m focusing on how a development editor might work with a self-publishing author, and, in particular, what the editor might expect to receive from such an author.
Providing editing services for a self-publishing author using Scrivener
When working with an author who plans to self-publish, the process can be similar to that used in traditional publishing.
- Outline to commissioning/developmental editor – agree the scope/timeline and confirm the contract
- First draft to developmental editor – first fix amends go back to the author
- Second draft approved by developmental editor
- Copy editor input
- Proof reader input
- Sign off and go to print
At each stage, the editor/proofreader knows what to expect from the author and the procedures are laid down by the publisher.
With a self-publishing author, it’s different!
- The publication date and the schedule are determined by the author.
- The author chooses at what point to seek the assistance of editors/proofreaders (if at all).
- An author might prefer to work with only one editor throughout, or be prepared to employ two or more appropriately qualified professionals along the way.
- Authors may be unaware of traditional publishing procedures. They only seek help because they realise the quality of the end product requires the employment of external professional expertise. These authors might therefore need help, not only in polishing their manuscript but also guidance on the whole process.
Whatever the author decides, and depending on what level of editor is employed, the professional is there to assist the self-publishing process. What help is given is subject to the progress the author has made so far, and the available time budget.
What will an editor receive from the author?
The author’s project will be in Scrivener; that much is clear. The benefit of Scrivener to the writer is that everything is in one place – in one project file.
The same is true for the editor; you should be able to find everything you need to know, within a single project file.
Let’s consider the three main areas on a Scrivener screen: the Binder, the Editing Pane and the Inspector.
Editing material in the Binder
The Binder which shows much more than just the structure of the manuscript. Yes, the folders/documents show how the author has split the book into parts/chapters/scenes. (I advise writers to stick to scenes for their first draft and only group into chapters when all the scenes are in place. This tactic also allows for analysis using metadata for each scene.)
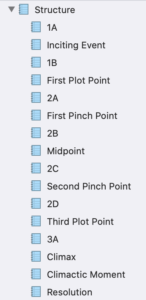 Some authors work to a template, such as KM Weiland’s. So, they may indicate, within the folder/document titles, the plot or pinch points etc.
The Character Sketches folder should list all characters and provide relevant information about each of the main characters.
Similarly, the Setting Sketches folder should provide details of locations used.
Some authors also provide a list of props and how/when these appear within the story.
Within the Research folder, the author’s My Story folder can provide various treatments. 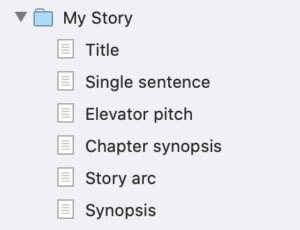 There might also be other material giving insights into the research undertaken by the author.
Editing material in the Editing pane
Within the Editor pane, the Scrivenings mode displays the whole manuscript as a continuous piece of text; this is not dissimilar to what an editor sees in Word. However, I can also choose to view the manuscript structure using Corkboard mode, or Outliner mode.
In Scrivenings, if the author has not yet chosen to View Titles in Scrivenings, I select that option. Then, when leaving comments, I use the Title as a cross reference, and Copy and Paste from the Editor pane into the Inspector.
In Corkboard mode, and in Outliner mode, I examine the synopsis for each document/chapter.
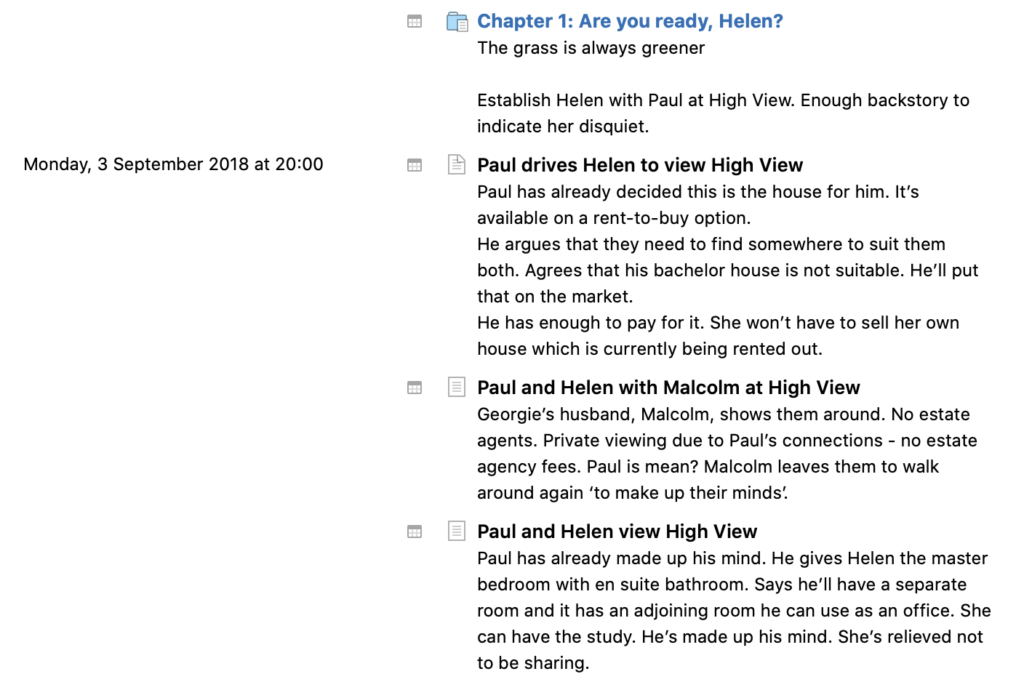
In both Outliner and Corkboard mode, I’ll also see evidence of use of metadata: Label and Status Stamps and any custom metadata fields, and keywords employed.
Editing material in the Inspector
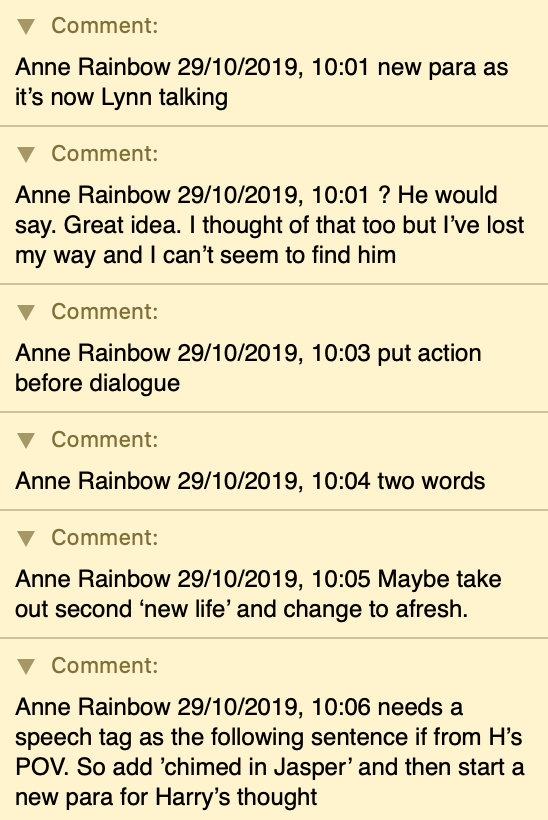
Within the Inspector, as well as details of the metadata settings, there may be notes, and comments the author has left for him/herself and/or me.
The comments feature – just like the one in Word – will be an important communication channel between editor and author.
I explain in a subsequent post how I annotate my comments to make it easier for the author to process them, and for me to keep track of which queries are still outstanding.
For now, note that comments are dated and timed, and show who made the comment. And that, for each comment, the text within Scrivenings is highlighted.
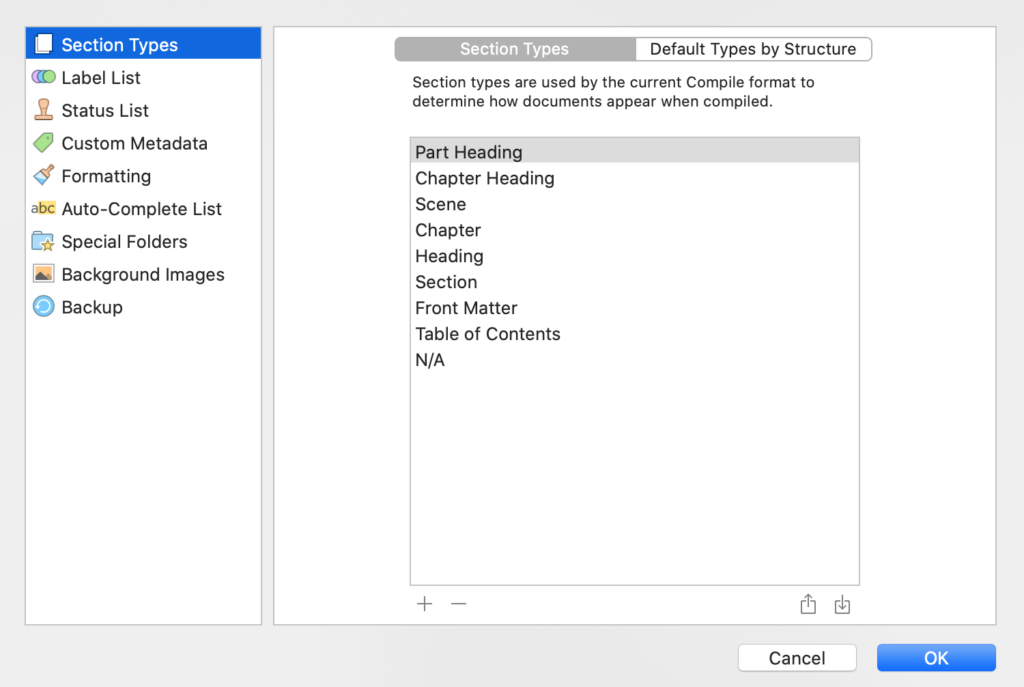
I check the Project Settings to see what the author has done so far. In particular, I’m interested in Section Types, Label List, Status List and the Custom Metadata panes.
Finally, heading through File/Compile, I check what the author has planned for the chapter headings: either Scrivener will auto-number, or the author’s chapter titles will be used. Or, maybe this decision has yet to be made.
What will I look at? What’s my process?
The short answer is: I’ll look at everything the author has provided. And my process is systematic and detailed. I’ll explain that in my next post in this series.
I’ll explain also my editing style, which I’ve developed specifically for self-publishing authors using Scrivener.
What features of Scrivener are needed to emulate TrackChanges?
Scrivener 3 has hundreds of features, many of which serve the editor well, and not only replicate the features of TrackChanges but also offer far more support to the author. I explain which particular tools I use, and how, in a subsequent post.
Any questions about editing for self-publishing authors?
To watch me writing/editing using Scrivener or to ask any questions, book a Scrivener Special.
To help me to prepare for the webinar, please also complete this short questionnaire.
The ScrivenerVirgin blog is a journey of discovery:
a step-by-step exploration of how Scrivener can change how a writer writes.
To subscribe to this blog, click here.
You can also find links to blogs of specific topics in the Scrivener index.
Also … check out the Scrivener Tips.
No Comments