

Novel structure: Creating chapters
 Step 7: Structure and Balance
I’ve reached the stage where I’ve done enough scene splitting, allocating titles, writing scene synopses, and assigning metadata for Label and Status, that I am itching to start creating chapters so that I can address step 7 of the RedPen Editing cycle: Structure and balance.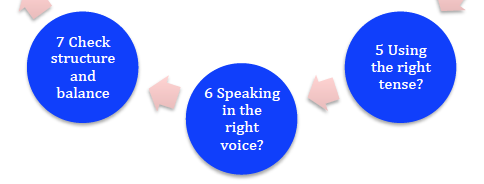
Creating chapters already? What happened to steps 5 and 6?
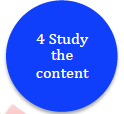 Well spotted! In a previous post, I reached step 4 (Study the content) and that resulted in three tasks:
- Task 1: Write an appropriate title and synopsis for each scene
- Task 2: Decide how to best use the Label metadata field – and apply to each scene
- Task 3: Output, using Compile, the scene synopsis for review purposes
Depending on the complexity of your novel, steps 5 and 6 do need to be addressed. For mine, I have only one POV (point of view) – limited omniscient using Audrey’s perspective – and my use of tense is straightforward too. I don’t use present tense (apart from within dialogue) – so, at this stage, I’m not considering changing that.
I am concerned about structure and balance though. Hence my jumping to step 7 on this circuit of the RedPen Editing cycle.
Creating chapters – when and how?
When I write the first draft (usually during NaNoWriMo), I just write scenes. This allows me to view all the scenes in the whole manuscript in Corkboard view (and Outliner view if I want to track progress).
As soon as scenes (text documents) are assigned to a chapter (a folder), the Corkboard can only be used to view the chapter synopses (which, as a pantser for Aide Memoire, I have yet to write!) or, within a single chapter, the scenes for that chapter.
However, at some point, I need to create chapters.
How is this done?
I have decided that the first 21 scenes will be my opening chapter. I have an empty text document titled Chapter 1 before them and another titled Chapter 2 after them. These documents are all at the same level; I need to change this …

Creating chapters using Convert to Folder
Right clicking on my Chapter 1 empty text document reveals a menu.

 Select Convert to Folder, and that text document turns into a folder.
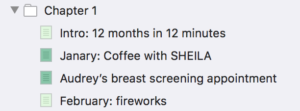
However, it’s still at the same level as the scenes that I want to group within it.
So, I select all the scenes for Chapter 1 and drag them into this new folder.
Notice now that that scenes/documents within the Chapter 1 folder are indented. That means they are at a lower level.
Using colour to identify structure and balance
Notice also that the icons in the Binder are coloured to show Location (my choice of metadata for the Label field).
How did I achieve this?
You can apply colour in lots of places: the binder, for icons (my choice), index cards (also my choice), etc.
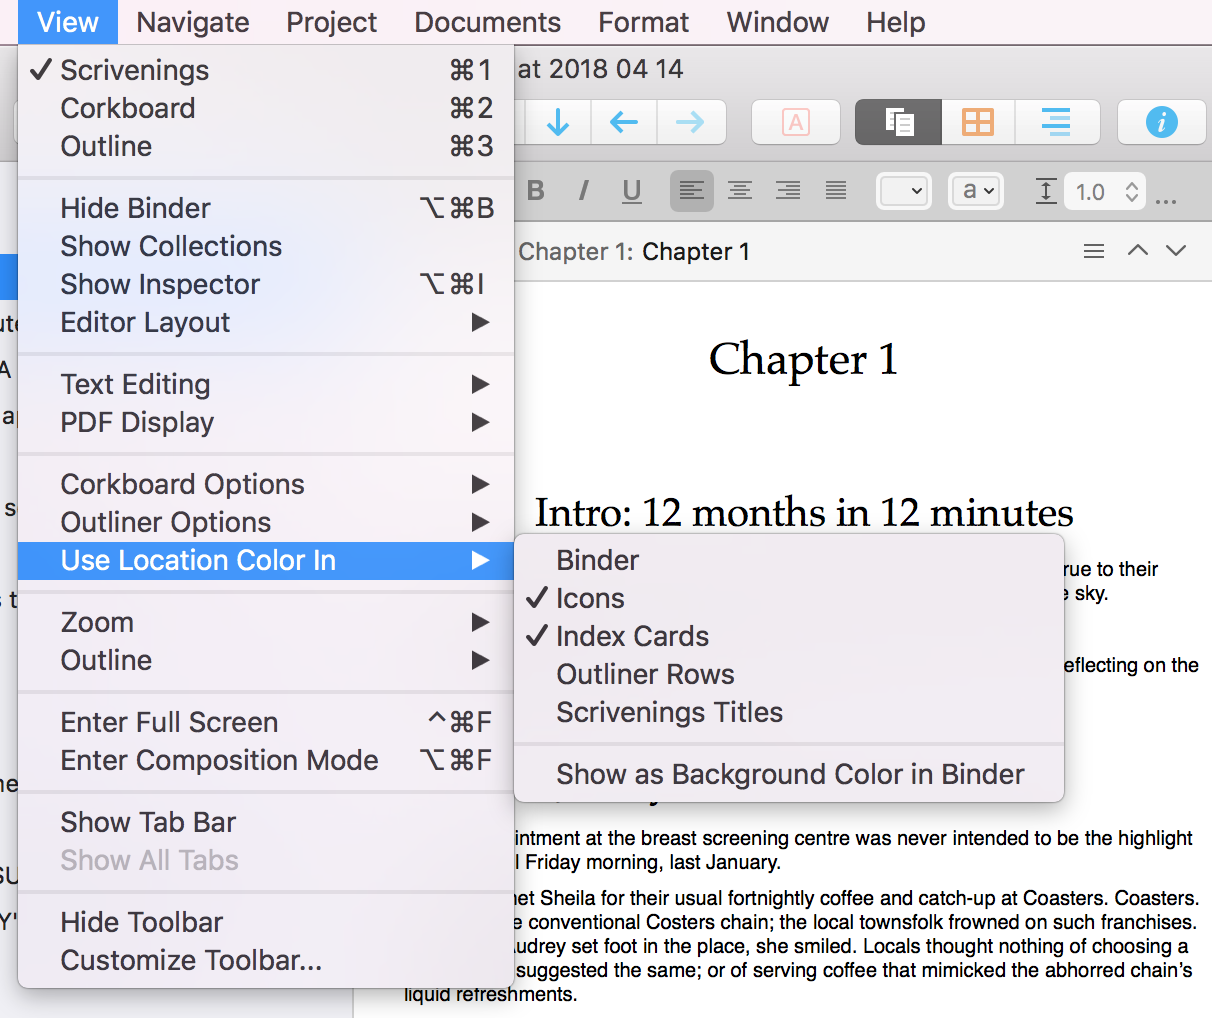
Why do I bother colour coding the metadata for the Label field?
This colour coding also shows the ‘pattern’ of locations within my Chapter 1. I can see, in Outliner view, that I need some more (short) ‘Onboard’ scenes towards the end of Chapter 1.
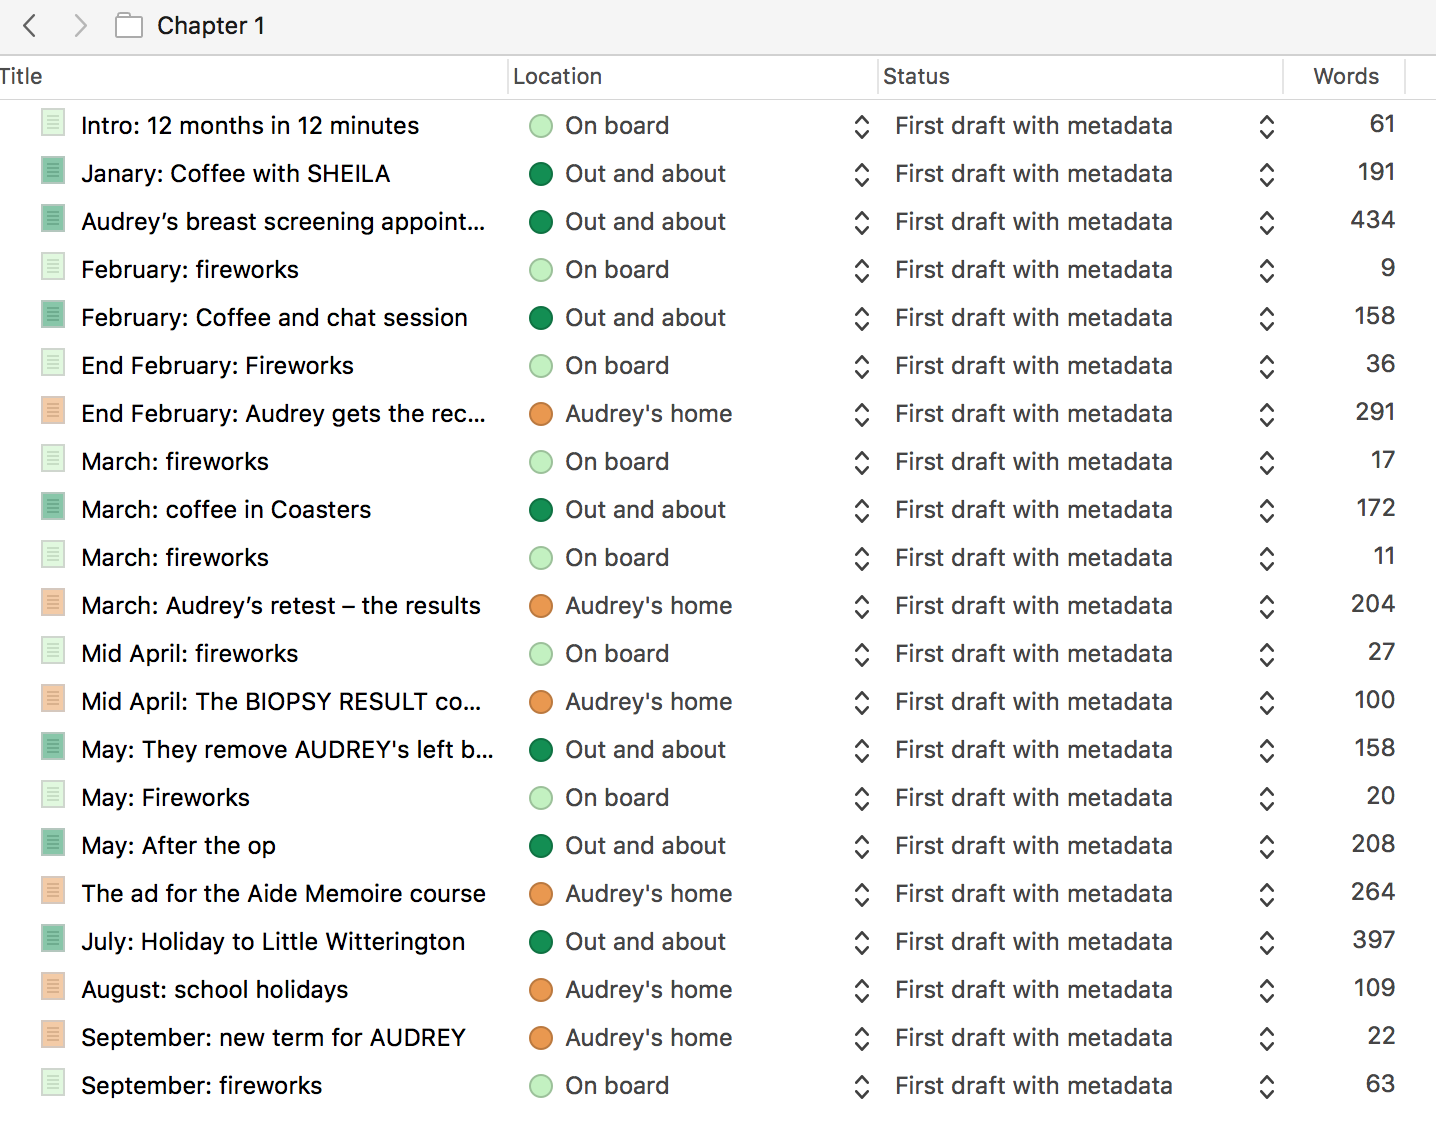
Notice that I have customised the Outliner view to include the Location (Label field) and that I’ve created a new Status option ‘First draft with metadata’. This allows me to keep track of which scenes I’ve processed.
Questions? Need a helping hand? Want a demo?
To watch me go through the process of creating chapters from scenes, customising the Status field, applying colour, or to ask any questions, book a Simply Scrivener Special.
To help me to prepare, you could also complete this short questionnaire.
The ScrivenerVirgin blog is a journey of discovery:
a step-by-step exploration of how Scrivener can change how a writer writes.
To subscribe to this blog, click here.
Also … check out the Scrivener Tips
on my ScrivenerVirgin Facebook page.
No Comments