

Compiling with Scrivener: Compilation options, part 1
I won’t pretend that the Compile feature is simple; it’s incredibly complicated. That’s the ‘bad’ news.
Compilation options, Part 1
What’s the good news?
The good news is that most settings are already as you might want them, so you only need to fine-tune them. And, the complexity level simply means it’s incredibly powerful.
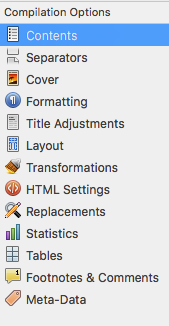 There are 13 (unlucky for some?) sections (called tabs) in the Compilation Options list.
What follows is a quick walk through the first 6.
Tomorrow, I’ll explain the other 7 and, in subsequent posts, I will go into more detail, one tab at a time.
Meanwhile, if you have any questions about compiling, or using Scrivener at all, book a Simply Scrivener Special.
Contents
This tab is where you specify what is to be included in your compiled manuscript.
You can choose to start a new text document on a new page (or not) just by ticking (or unticking) a box.
You can also specify you want the formatting for individual text files to be ‘as is’, that is how you’ve formatted the text within your manuscript, rather than using the Formatting rules that you’ll be setting up for the whole manuscript.
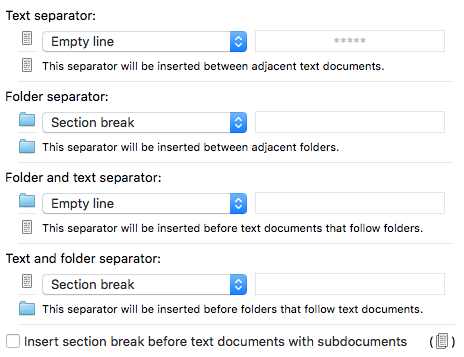
Separators
This tab is the first of several simple tick lists. In this one, you specify what is to appear (if anything) between consecutive items in your Binder.
Here are my settings for EDITING the Red Pen Way.
 Cover
Cover
You guessed it! This tab is where you specify the image for your cover. More on that another day.
Formatting
This tab provides control over how your manuscript will appear on the page or on the screen. It’s the most important item on the Compilation Options list.
You choose font styles, point sizes, spacing and a whole lot else besides; and do so for every ‘level’ within your manuscript.
This topic cannot be covered in a single blog post – so there will be several, each one focusing on a particular aspect of formatting.
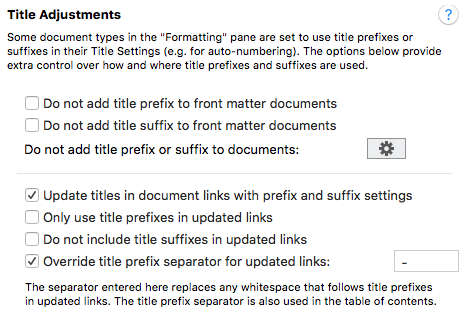
Title Adjustments
What your titles are to look like is mostly controlled in the Formatting tab (eg auto-numbering). However, this tab allows more adjustments.
Here are my settings for EDITING the Red Pen Way.
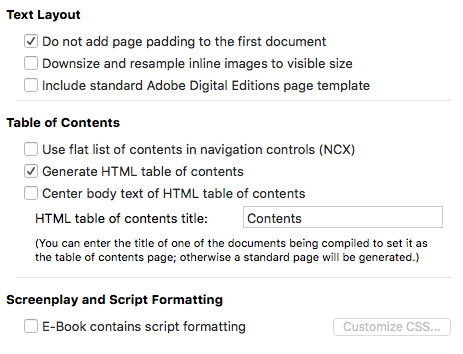
Layout
This is another one of those tick lists. Here are my settings for EDITING the Red Pen Way.
So, that’s the first six. The other seven will be in tomorrow’s post.
Wanna be my beta reader?
If you would like to be a beta reader for my eBook EDITING the Red Pen Way, join this Facebook group.
The ScrivenerVirgin blog is a journey of discovery:
a step-by-step exploration of how Scrivener can change how a writer writes.
To subscribe to this blog, click here.
Also … checkout the Scrivener Tips
on my ScrivenerVirgin Facebook page.
No Comments