
The Scrivener Mindset: The role of Project Formats
Project formats lead the way
This blog post is the final one in a series all pointing to the fact that the role of a project format is to provide one of your many routes out of Compile.
For a single manuscript, you can set up numerous project formats, each one serving a different purpose and/or a different end recipient. Here, I explain how, referring back to the previous posts which provide more detail of the individual steps in the process.

Outputting to eBook
I recommend you start with an output to eBook.
Why?
- Ebooks have no page size – this is determined by the reader’s choice of font size, so you don’t have to worry about page numbering.
- Ebook readers also get to choose which font they prefer to see, so you needn’t spend time worrying about that either. Just stick to the defaults!
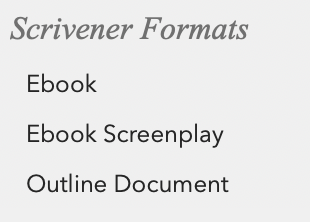
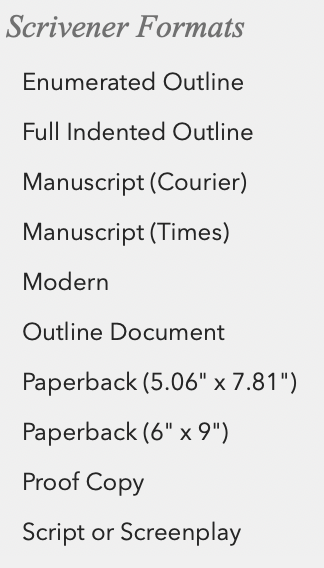
- The range of options provided by Scrivener’s defaults for output to eBook is the smallest – just Ebook, Ebook Screenplay and Outline Document – so you have little choice and more chance of a quick success.
- The output is easily viewed on screen – no need to print anything out – so you help to save yet another tree.
- Even if you think you’ll never output to eBook, trust me, this is the easiest route … and if, later, you change your mind, you’ll kick yourself. (I did that, once. Just once!)
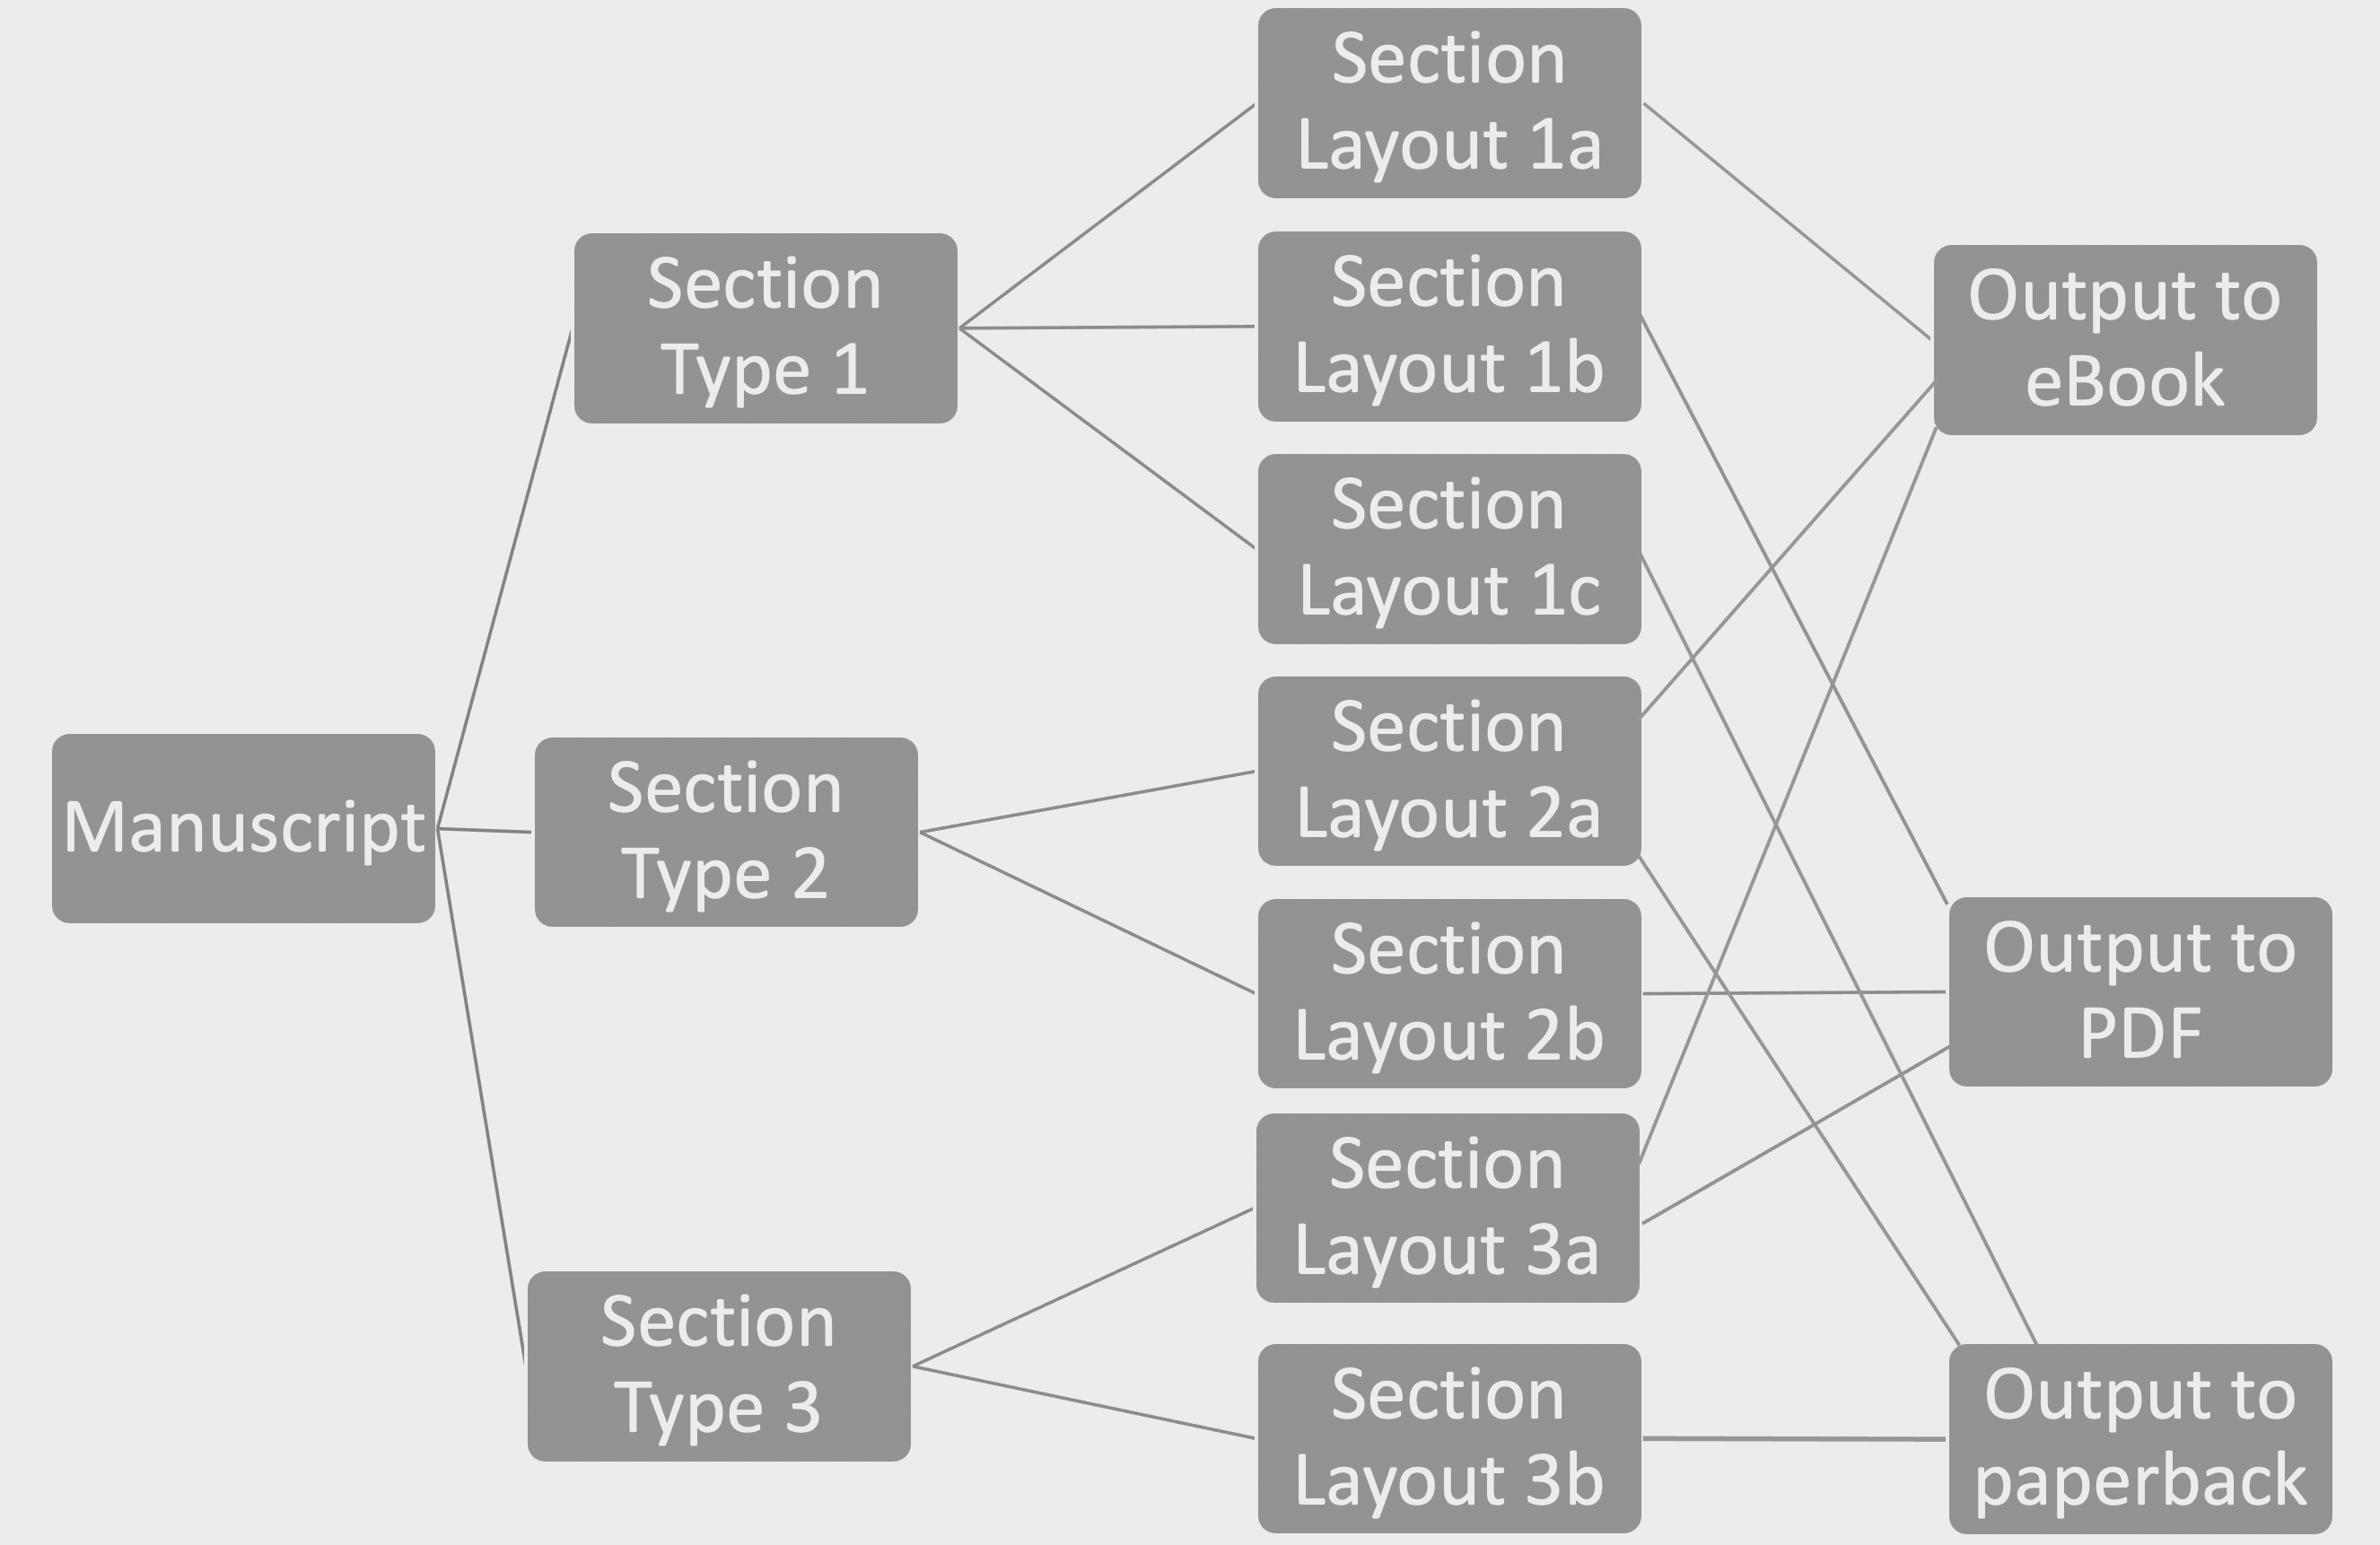
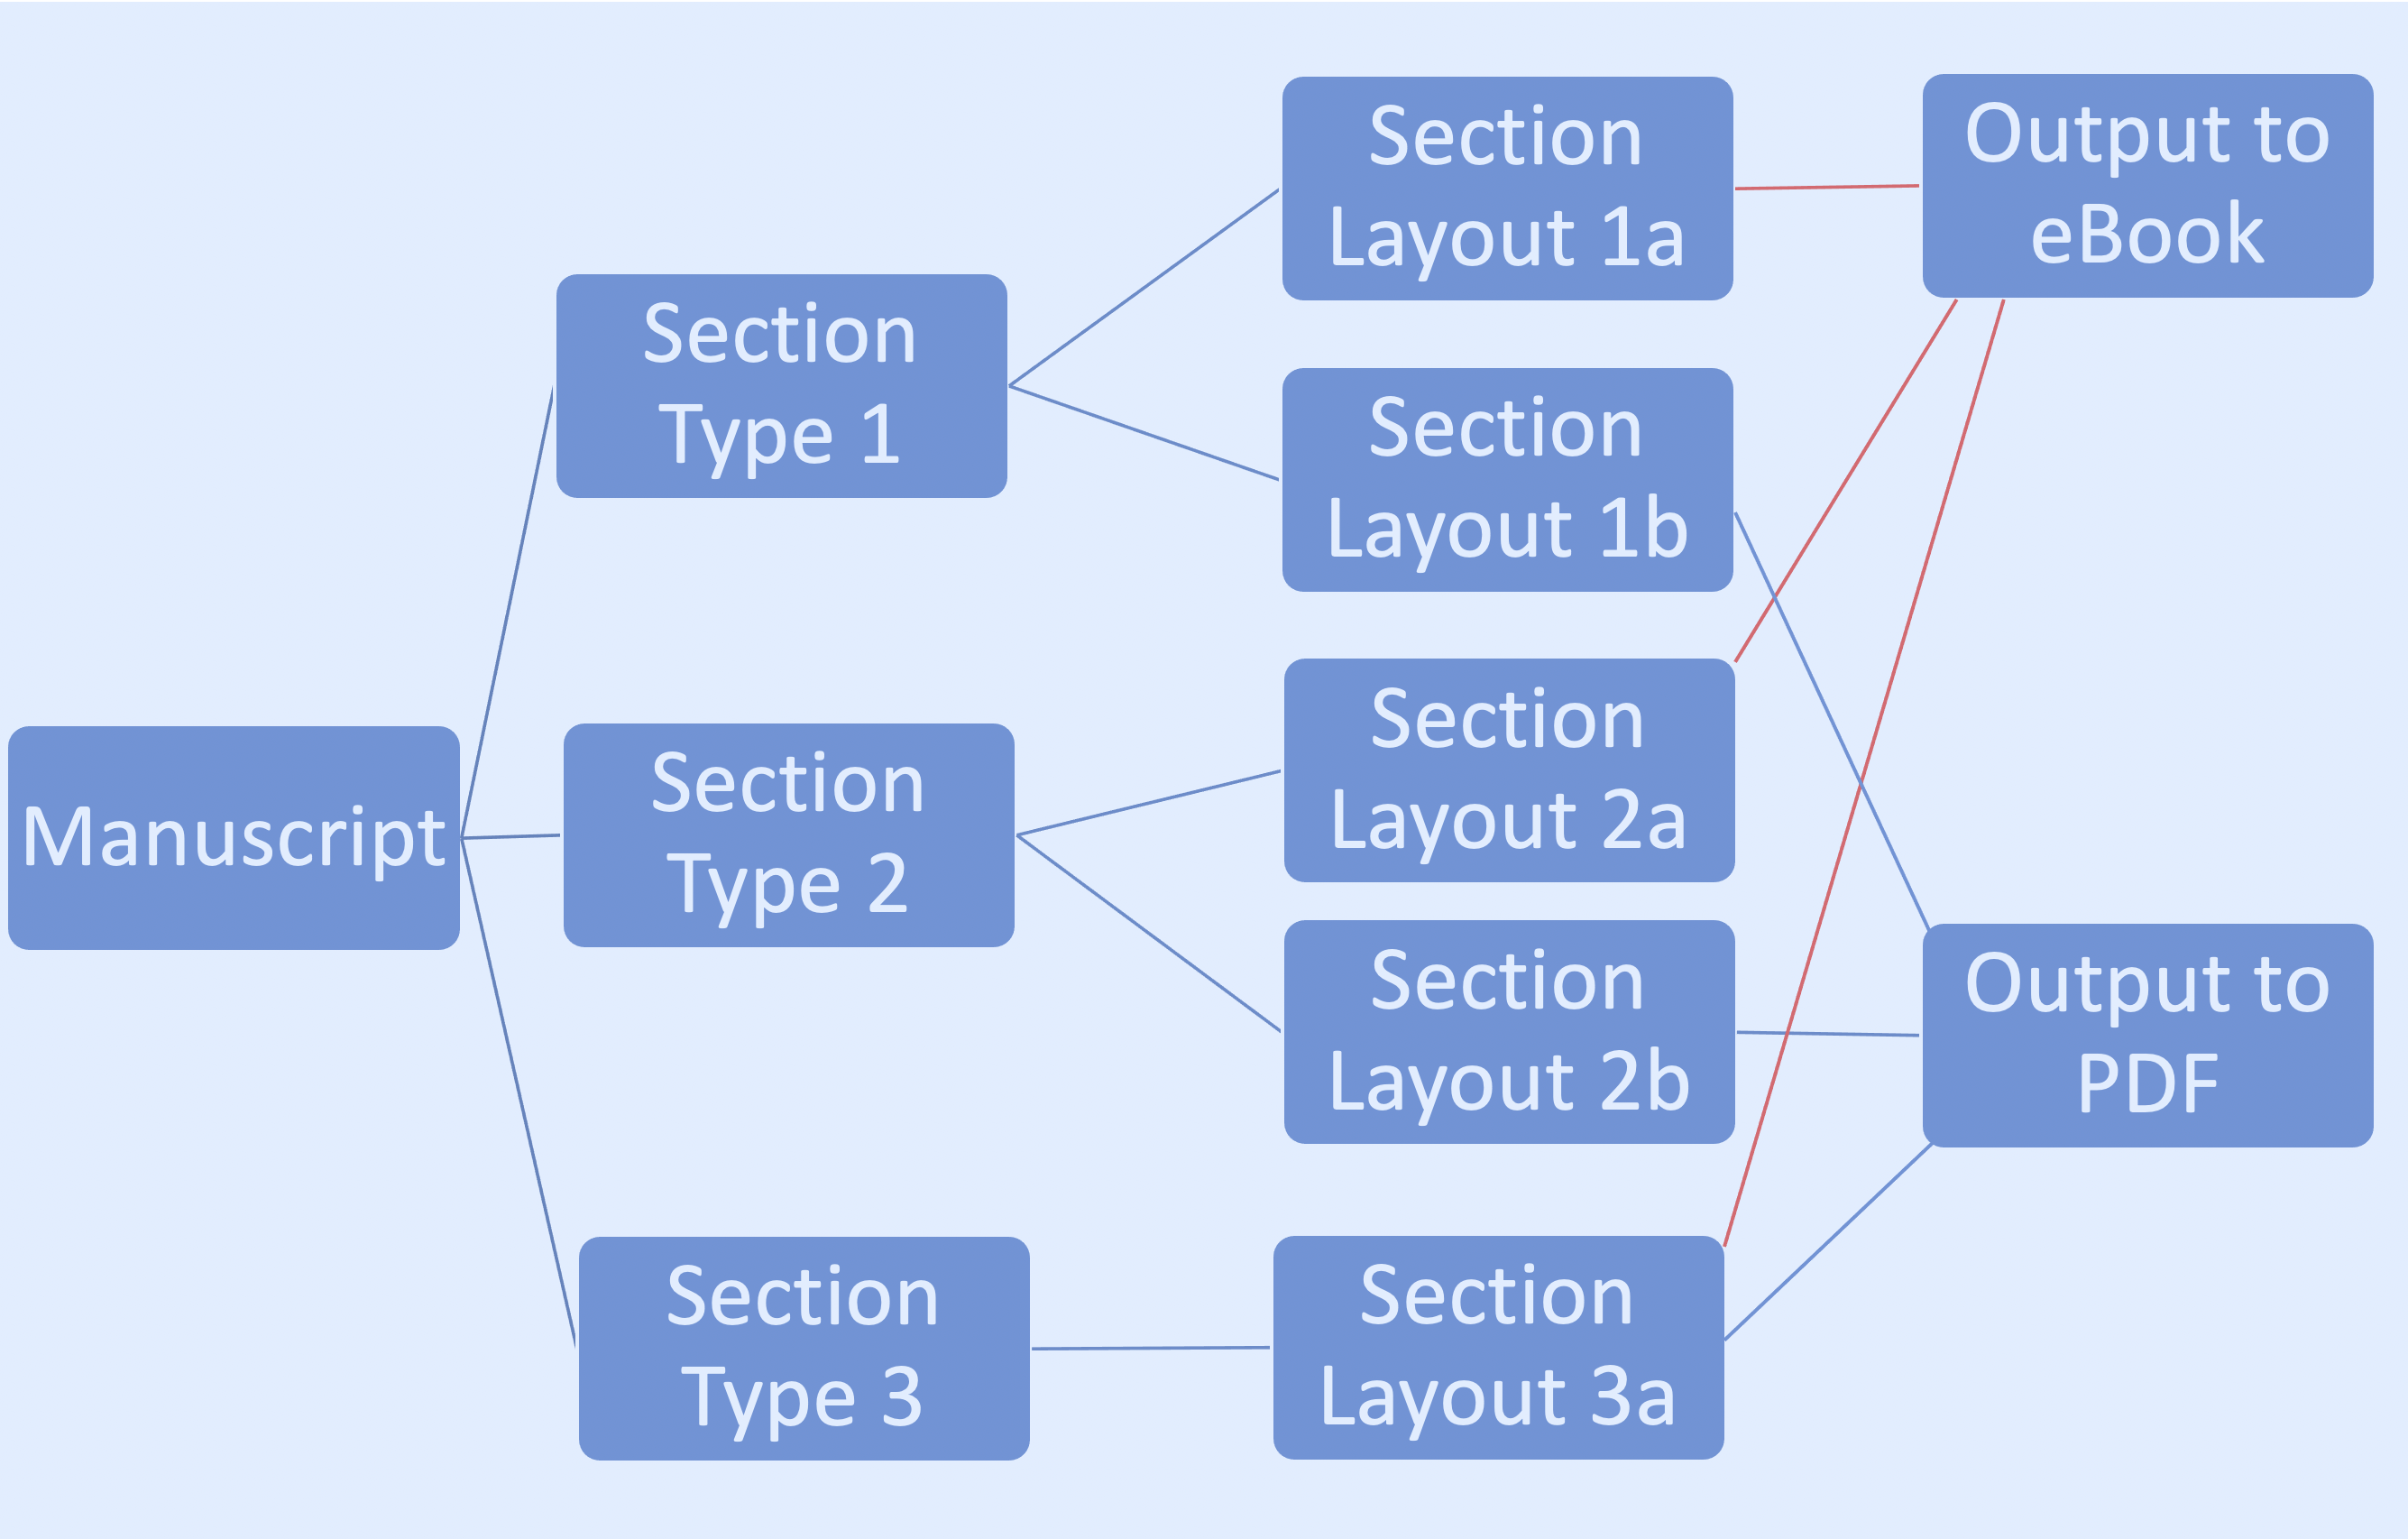
The diagram below (I hope) serves to show the connection between your manuscript and the output to eBook.
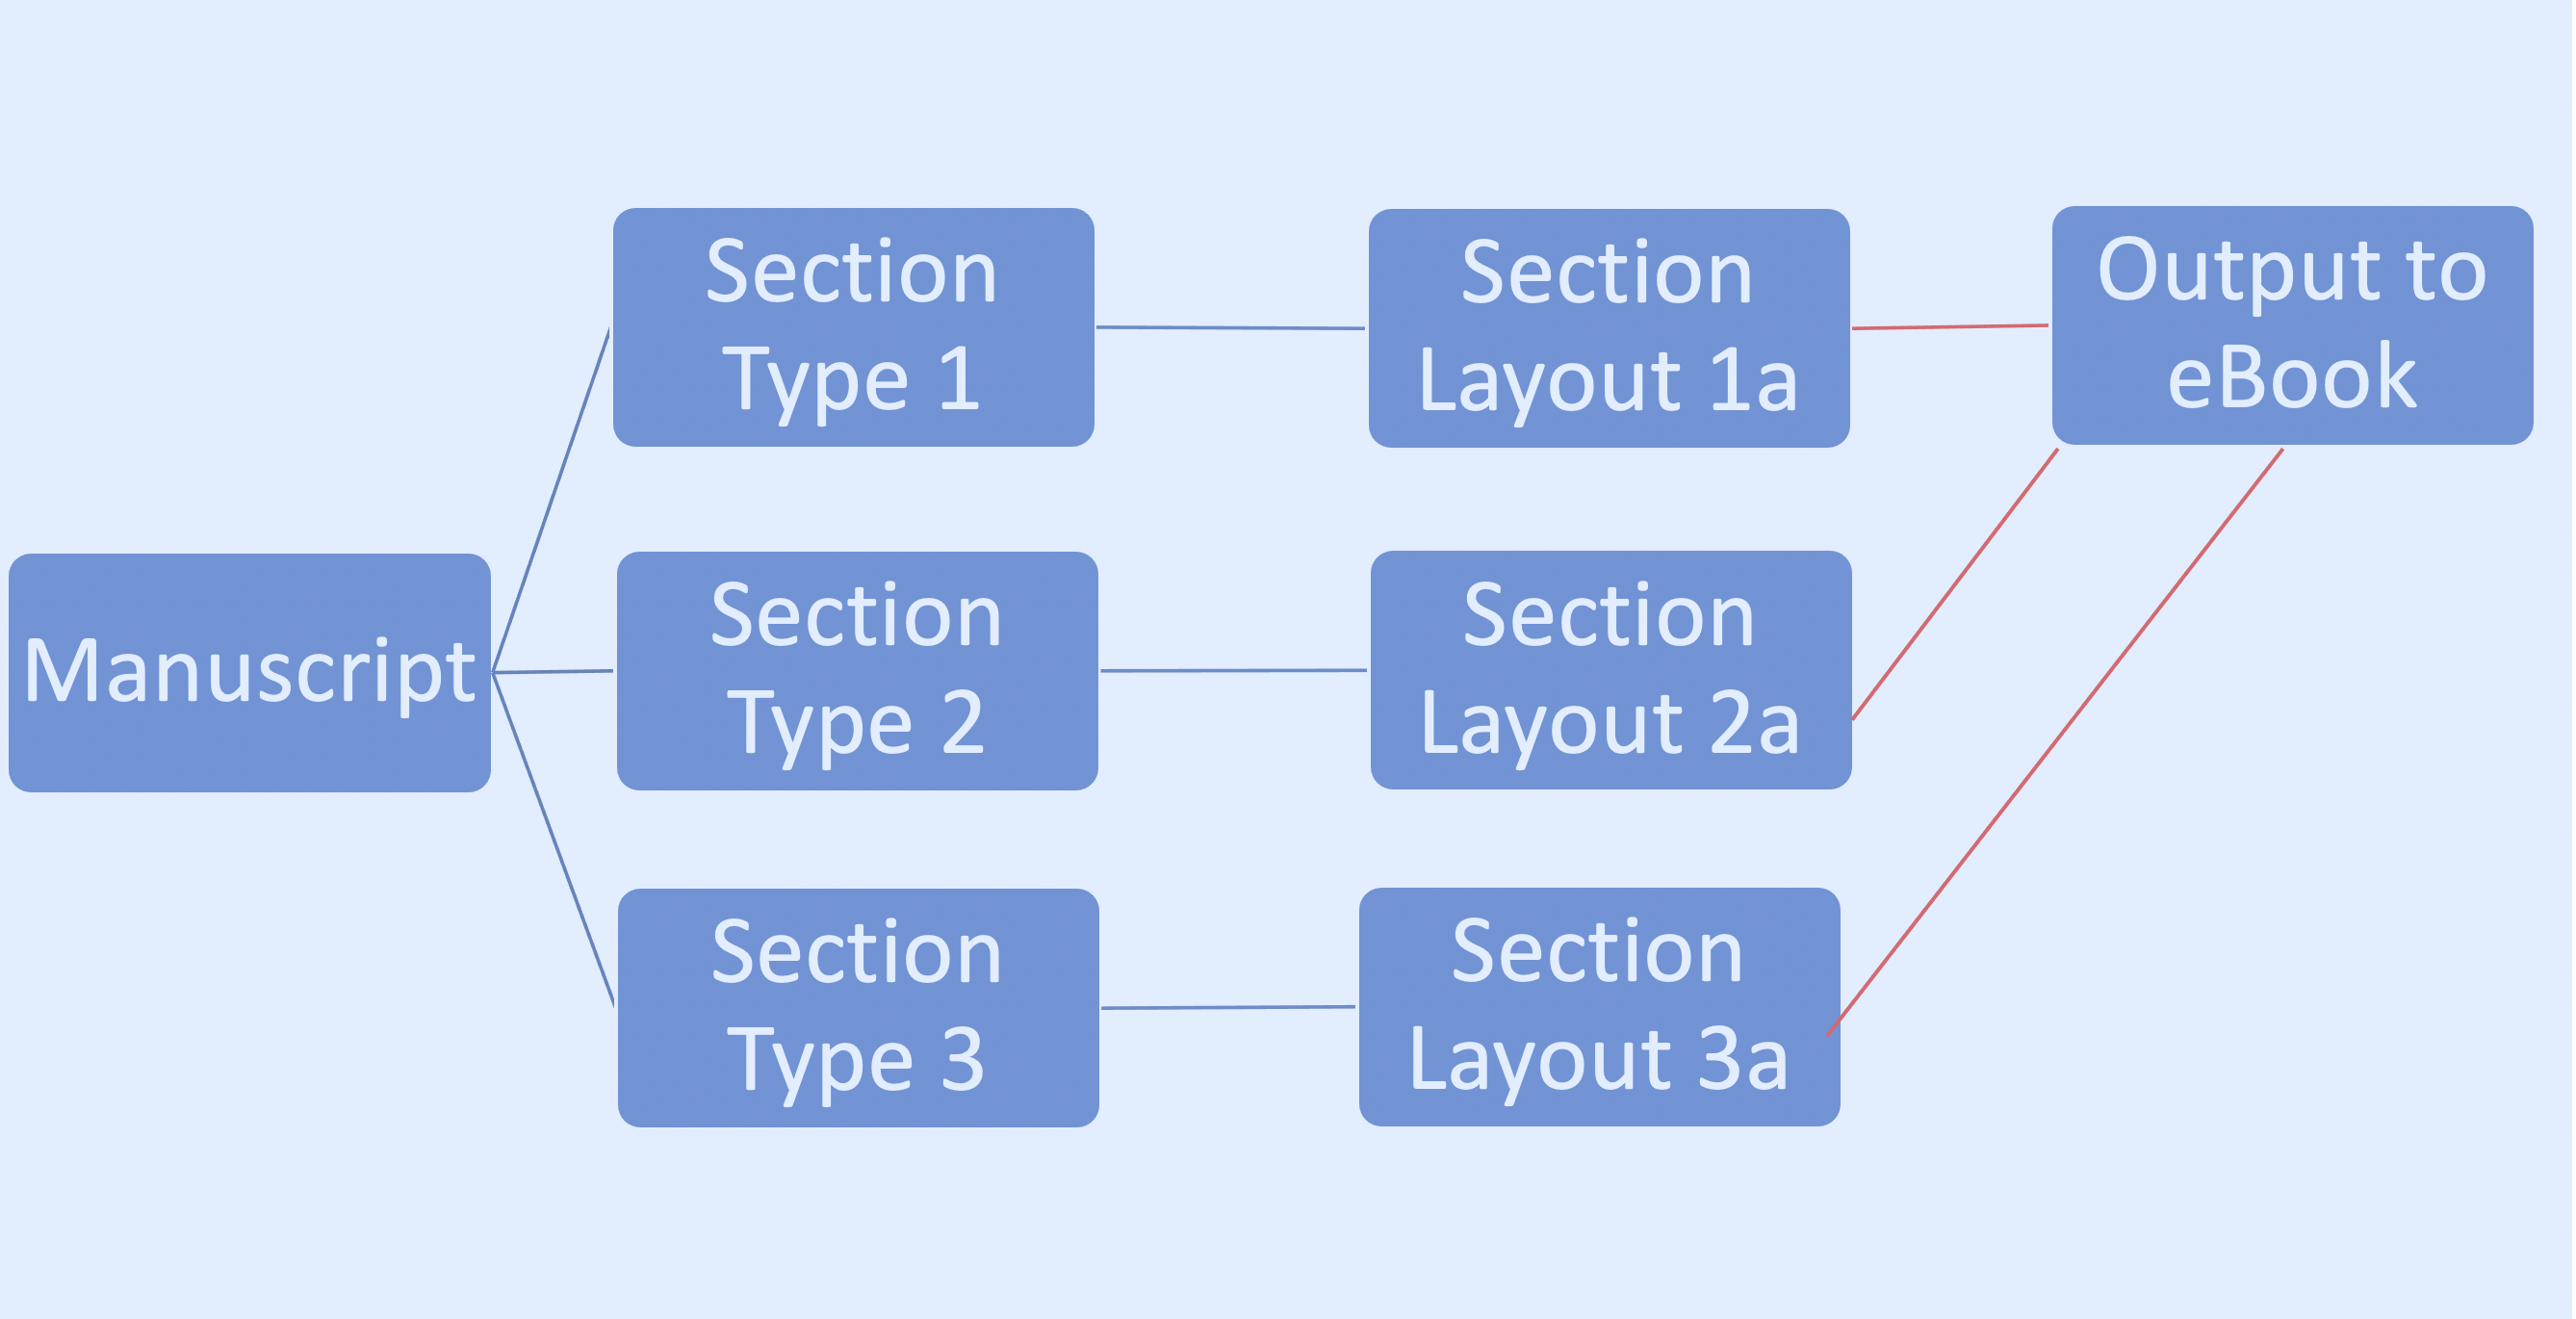
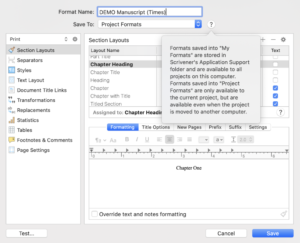
First, the text within your manuscript is categorised into various section types as described in this blog post. When you select File/Compile, and specify eBook, you will create your first Project Format as described in this blog post. Then, for each section type, you will assign a section layout (or accept Scrivener’s defaults) as described in this blog post.
When you click on Compile, your eBook will be created. You can view it and, if you want to tweak any settings, you can do so as described in this blog post. Voilá!
Outputting to PDF
The next stage is to select File/Compile but choose PDF as your output route.
You will be presented with ten templates. Ten! But, don’t panic.
Rather than pick one of these, select the eBook template you just created.
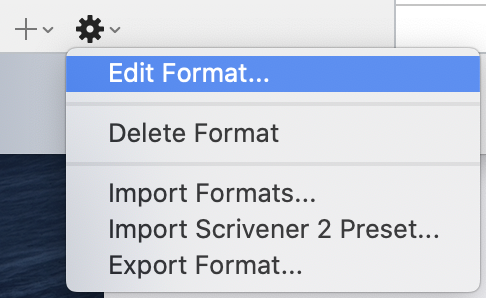
Click on the cog wheel and create a duplicate of your eBook version, but with output to PDF.
NB DO NOT TWEAK your eBook version for PDF. It’s imperative that you create a duplicate because then you can still output to eBook and, pretty soon, you’ll be able to output to PDF too.
Now, you could just compile and see what happens but you know already that the PDF will need page numbers. And for each of your section types, you might want to assign different section layouts or tweak the ones you assigned already.
The process is explained here and the net result is that your PDF output route links back to tweaked versions of the section layouts as shown below – or not. There may be some settings that you do not need to tweak.
Outputting to paperback
And then, when it’s time to publish your paperback, rather than starting from scratch, start with the project format you adapted for PDF, and adapt that for paperback. You might find the only thing you need to change is the paper size.

How many project formats do you need?
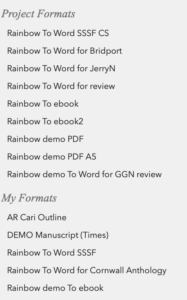
You will end up with lots of project formats, at least one for each output route, but also, maybe for different end readers.
I create a new project format every time I’m asked to provide material to meet a particular spec.
For example:
- Rainbow To Word SSSF CS produces an outline of the material in my work-in-progress up to a certain chapter (as selected). I use this to provide background information for anyone new to the manuscript review group. They might join when we are about to review chapter 17, so I output the outline up to chapter 16 for them. SSSF stands for synopsis (of) story so far.
- Rainbow To Word for Bridport produces material that meets the strict rules for the Bridport prize.
- Rainbow To Word for JerryN produces material as specified by a writer called JerryN.
- Rainbow To Word for Cornwall anthology produces material that meets the strict rules of the organisers of the Cornwall anthology in which one of my stories will appear in due course.
And so on.
Notice that there are two lists.
- Project Formats are available only within that project.
- My Formats are available for all my projects.
I explain their relevance here.
Questions? Need a helping hand? Want a demo?
To watch me go through the process of setting up numerous project formats within Compile or to ask any questions, book a Simply Scrivener Special.
To help me prepare, you could also complete this short questionnaire.
The ScrivenerVirgin blog is a journey of discovery:
a step-by-step exploration of how Scrivener can change how a writer writes.
To subscribe to this blog, click here.
Also … check out the Scrivener Tips
on my ScrivenerVirgin Facebook page.
No Comments