

Adopting the Scrivener Mindset: a guide for writers
 Why, why, why?
I’ve been blogging about Scrivener since September 2015 and every post since then – all 300+ of them – has explained how to do something. This series of posts explains why, and introduces the concept of the Scrivener mindset.
What is the Scrivener mindset?
To get the best from Scrivener, writers need to embrace it for what it is.
- A tool to take you from blank page to published book
- A sophisticated piece of software which allows you to customise every step of the way: writing, editing, formatting, publishing.
Yes, the learning curve might be steep – there is so much to learn – but support is available from Literature & Latte but others sources too, like this blog.
Writers need also to accept that Literature & Latte designed this software with the end goal being publication. So, there are publishing techniques and terminology to embrace. Plus, the process focuses on getting the words on the page (into the Editing pane) and only then thinking about how it’s going to be formatted for publication.
Finally, in adopting a Scrivener mindset, writers need to understand what Scrivener is not.
- Scrivener does not offer a truly WYSIWYG environment. It is not Word! It is more than that …
- Scrivener is not designed for publications which rely on complicated layouts, eg wrapping images around text. If this is your plan, you need even more sophisticated (and more expensive) software, like InDesign.
It is possible to use Scrivener alongside other software.
- There are plotting tools like Plottr which integrate with Scrivener – or you could Scapple!
- Aeon Timeline integrates – or you could use a custom metadata field for the date/time.
- You could output to Vellum or some other software for the finer points of formatting.
Or, you could just use Scrivener?
Why use Scrivener at all?!
One thing writers have in common is that their writing is not just the story, or the poem, or the play. There are masses of notes, character sketches, and other material which the writer needs to hand, to complete the project.
With Scrivener, everything related to your novel (or your play, your collection of short stories or poems) can be within the one project, and all this material is presented via three panes.
- The Binder
- The Editing pane
- The Inspector
So, the first element of the Scrivener mindset is to pull everything together, not scatter the material to the four winds.
Scrivener is too hard to learn? The learning curve is too steep?
Scrivener is such a powerful tool with a multitude of options that, at first sight, it might look too complicated to contemplate. However, to help users to cut through the complexity, Literature & Latte provides templates so that the Binder (at least!) resembles what you need.
I wrote a series of blog posts explaining which templates might best suit various types of writers.
- Scrivener for plotters and pantsers
- Scrivener for novelists
- Scrivener for memoir writers
- Scrivener for essayists, short story writers and poets
- Scrivener for non-fiction writers
- Using Scrivener for social media posts
- Scrivener for lifelong learning
So, the route into Scrivener can be smoother than it might have been … and you can look forward to having everything you need for each of your projects within the one workspace. You just need to adopt the Scrivener mindset …
Scrivener mindset: Writing your way
Whether you are a planner or pantser – I explain the differences in this post – Scrivener lends itself to however you like to write.
- If you start on page one and spill your story onto the page (the Editing pane), so be it.
- If you prefer to dip in and out, as a memoir writer might, when anecdotes are recalled, so be it.
- If you have a novel with two points of view and want to write all the scenes from one character’s POV first, so be it.
Yes, you could so this in Word, or other software. But with Scrivener, the Binder structure is already there, with documents ready to be populated with words.
And, you can design the workspace to suit yourself. I explain how here. Plus there are loads of features to help you along the way.
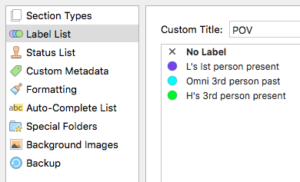
- You can use metadata to keep track of which scenes are from POV 1 as opposed to POV 2.
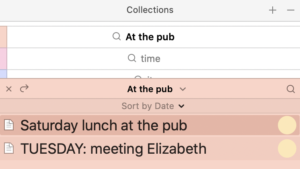
- You can use collections to focus on writing all the scenes that relate to one location.
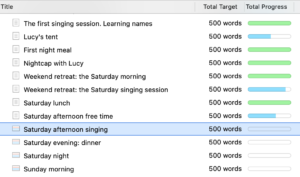
- You can see at a glance, in the Outliner view, the word count for all your scenes so you know which ones still need to be written.
With the Scrivener mindset, expect to work in whatever way suits you best. Scrivener is flexible – it helps you, however you prefer for write. And once again, the way forward becomes easier, once you adopt the Scrivener mindset.
Scrivener mindset: Utilising metadata
At some point, you need to edit what you’ve written and utilising metadata can make editing easier and more effective. First though, you might like to tweak your workspace to suit you now you’re wearing your editor’s hat, rather than your writing hat. I explain how here.
Editing always takes longer that the writing phase, and I wrote a series of six posts explaining what I call first-fix editing. It starts here and explains how so many of the features of Scrivener help the writer to avoid editing overwhelm.
As an editor by trade (retired!), I have a high regard for the features available within Scrivener. If only they’d been available 30 years ago, my job would have been much simpler. And now I hope editors – developmental editors, copy editors and line editors – will give serious consideration to accepting Scrivener projects, rather than insisting on authors sending them Word documents and relying on track changes to record their editing suggestions.
There is so much more an editor can do – to help the writer – if only the editor would adopt Scrivener mindset too. My series of blog posts on how this can be done starts here.
Scrivener mindset: Retaining manuscript ownership
Having written your manuscript in Scrivener, whatever demands a professional editor might make, it’s important to stick with your Scrivener file and retain ownership of your words.
To keep track of what changes you might make as a result of that editor’s comment, Scrivener provides a Revision mode, explained here.
To process the feedback, when it’s provided electronically, set up your screen, one window beside the other. You know me: I always work from left to right.
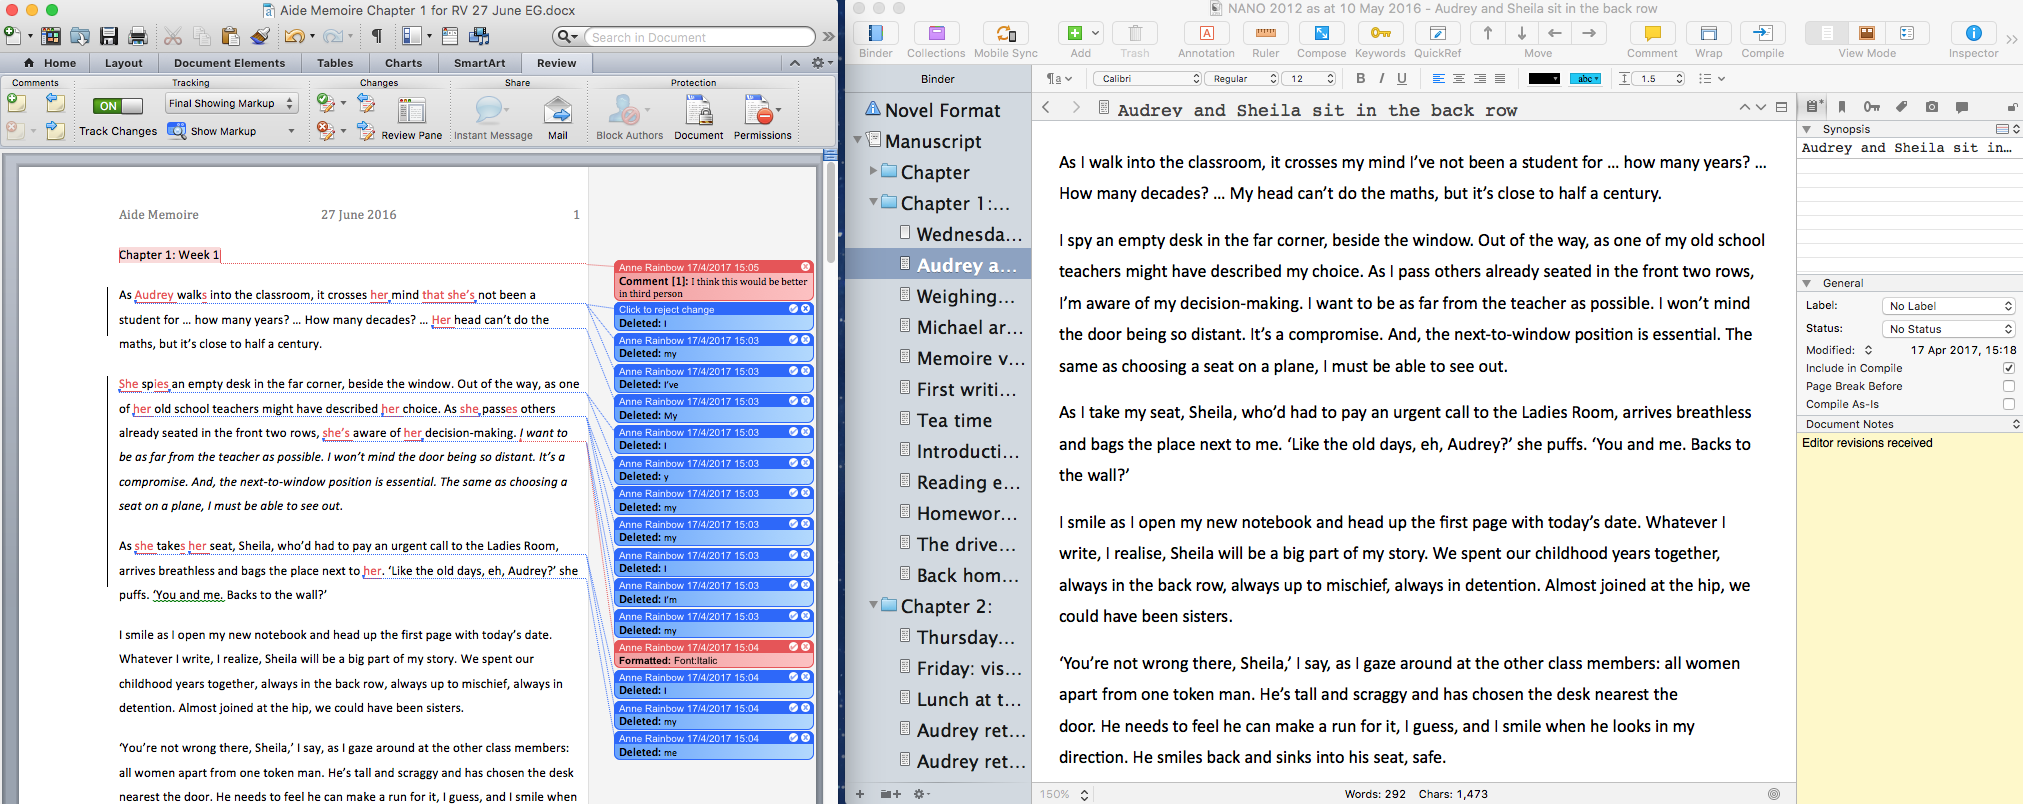
Read each comment/correction and decide how to proceed.
- If you accept the suggestion, amend your Scrivener project, in line with comments the editor made.
- If you’d rather not accept the suggestion, don’t!
- Move on to the next suggestion.
With the Scrivener mindset, you can conquer all challenges!
Same words; many publication/formatting options
 Scrivener, as a writing tool, takes the writer from a blank page (a blank Editing pane!) to a published work.
While it is possible to export, for example, from Word to a variety of forms (Word, PDF), the strength of Scrivener is that each of the output options can be formatted differently. So, the sizes of headings used in a PDF can be different from those used in an ebook version of the same manuscript.
This flexibility is achieved using Project Formats. Scrivener supplies a number of defaults, covering almost all options you might need, any one of which you can customise to suit your particular requirements.
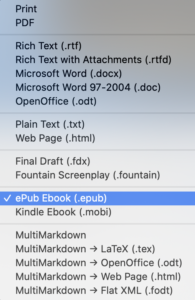
First, you decide your output from the comprehensive list as shown on the right. Scrivener then displays the default formats that apply to that output choice. I list these and explain the process in this blog post.
You then duplicate that project format to create one to suit yourself, and edit that however you wish.
- For each section type you’ve defined for your documents, you can customise the format for this particular output.
- For each style you have set up for your paragraphs / characters, you can customise the format for this particular output.
The net result – using your Scrivener mindset – is total control over what is output, with the option to change the words (when the inevitable typos are spotted) and output via the same project format speedily and with confidence.
Questions? Need a helping hand? Want a demo?
To discuss why you should be adopting the Scrivener mindset, or to ask any questions about Scrivener features, book a Simply Scrivener Special.
To help me prepare, you could also complete this short questionnaire.
The ScrivenerVirgin blog is a journey of discovery:
a step-by-step exploration of how Scrivener can change how a writer writes.
To subscribe to this blog, click here.
Also … check out the Scrivener Tips
on my ScrivenerVirgin Facebook page.
Angela
10 June 2023 at 21:01Amazing as usual!
Anne Rainbow
10 June 2023 at 22:43Thanks Angela. Been meaning to call you. Hope all is well with you and yours.
Devops Course
16 January 2022 at 18:58Website is so easy to use – I am impressed with it. Thank you for sharing.
power bi course
15 January 2022 at 14:07Nice article, thanks for sharing information.
mulesoft training
31 August 2021 at 12:57The blog was absolutely fantastic! Lot of information is helpful in some or the other way. Keep updating the blog, looking forward for more content … Great job, keep it up
Ed Skinner
31 July 2021 at 21:43Excellent post for people who are serious about writing.
Abhishek
26 May 2021 at 09:10nice content with valuable content thanks for sharing